RJM Sapphire head amp rehab
Early on I built RJM’s Sapphire headphone amplifier.
It was one of the first descrete amplifiers I built that wasn’t strictly paint by numbers – I had calcualte gain values, get the right components, make design decisions which required additional value calcuations, and as I recal it was one fo the first amplifiers where I struggled with grounding.
I even ordered boards from RJM and he’s in Kyoto. First not in the USA audio order!
To this day this amplifier is one I adore. So much so that I’ve built it a few times each time tweaking a bit here and there. It’s a daily driver for me still.
However, that original build needed some love. My soldering skills were shit back then and the enclosure I used for it was painful at best. It was the product of not having the right tools, experience, or patience to do it right.
It was so bad I’m not going to show it. So, I decided to clean up the boards a bit and rehouse it in a brand new chassis.
This is effectively the build process in pictures for creating the chassis. Everything from measuring everything, drilling out holes, wiring, grounding, etc… I snapped pics of.
Any questions about any of it, just let me know .
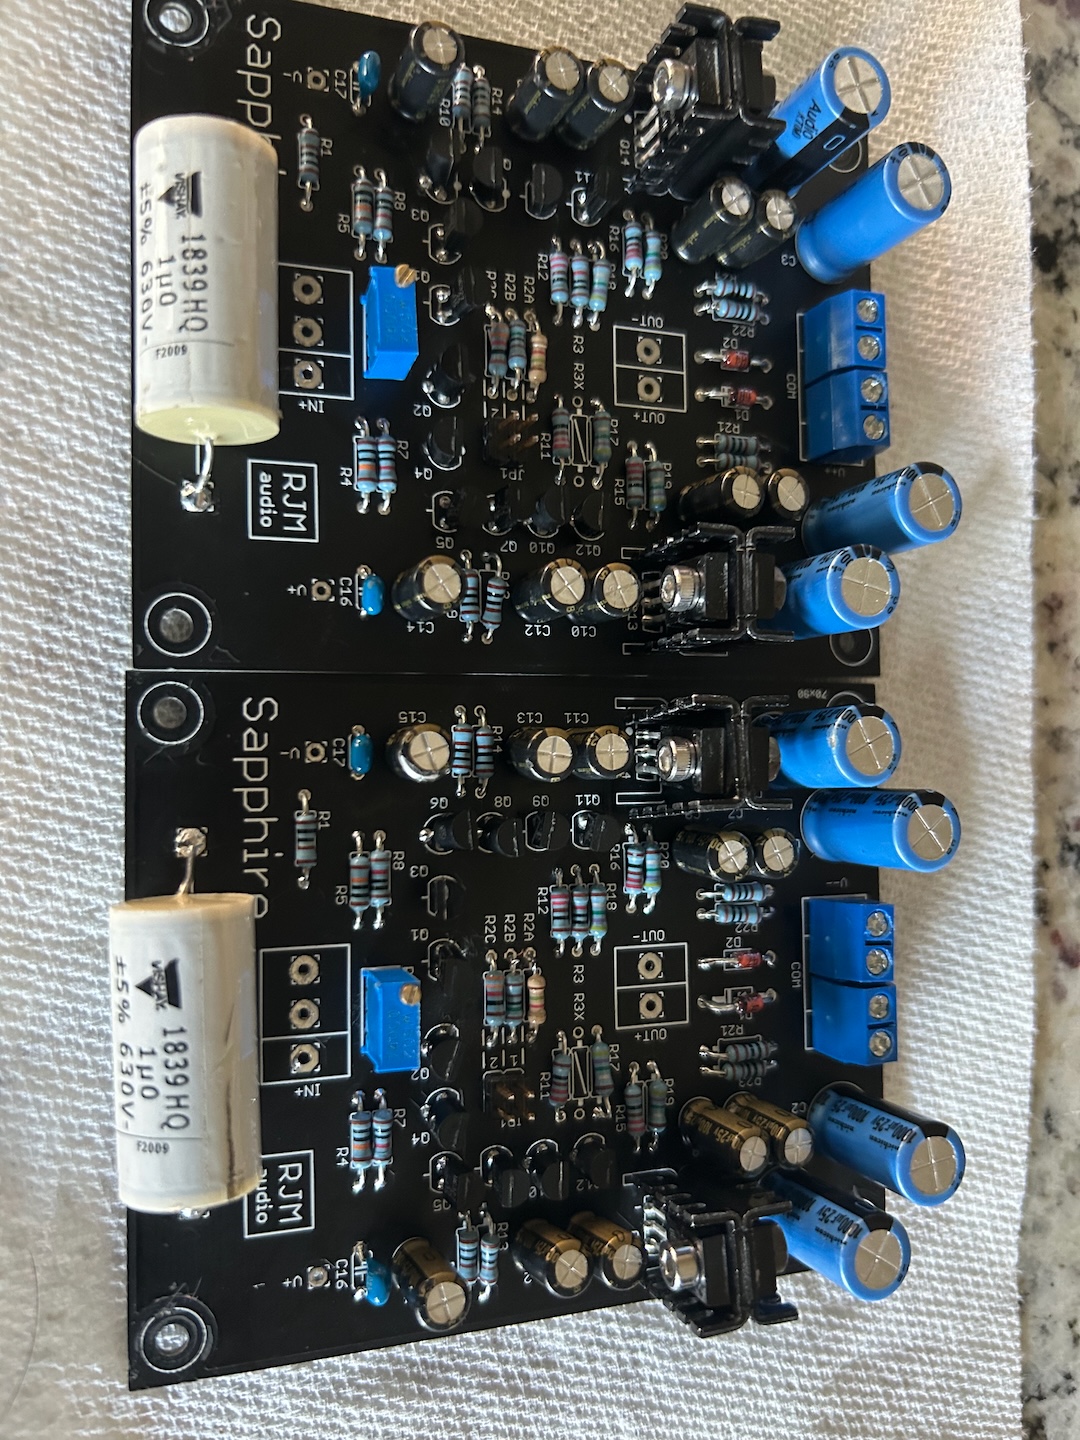
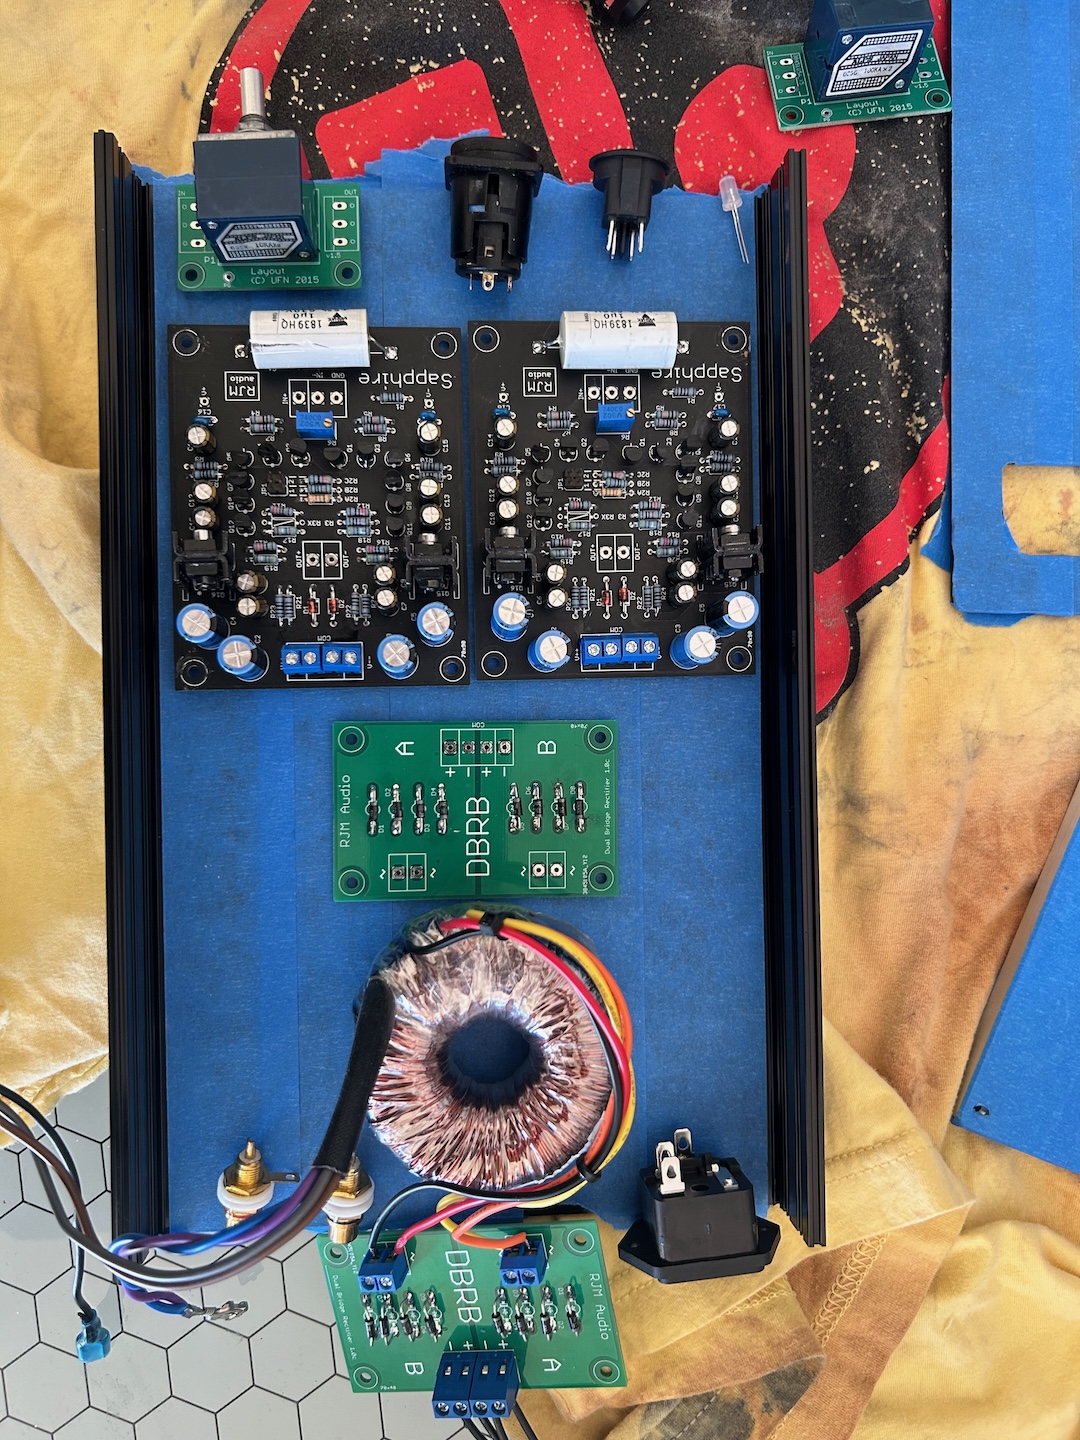
These are the two salvaged boards. They technically still worked but were not pretty. This is even after major touch-ups.
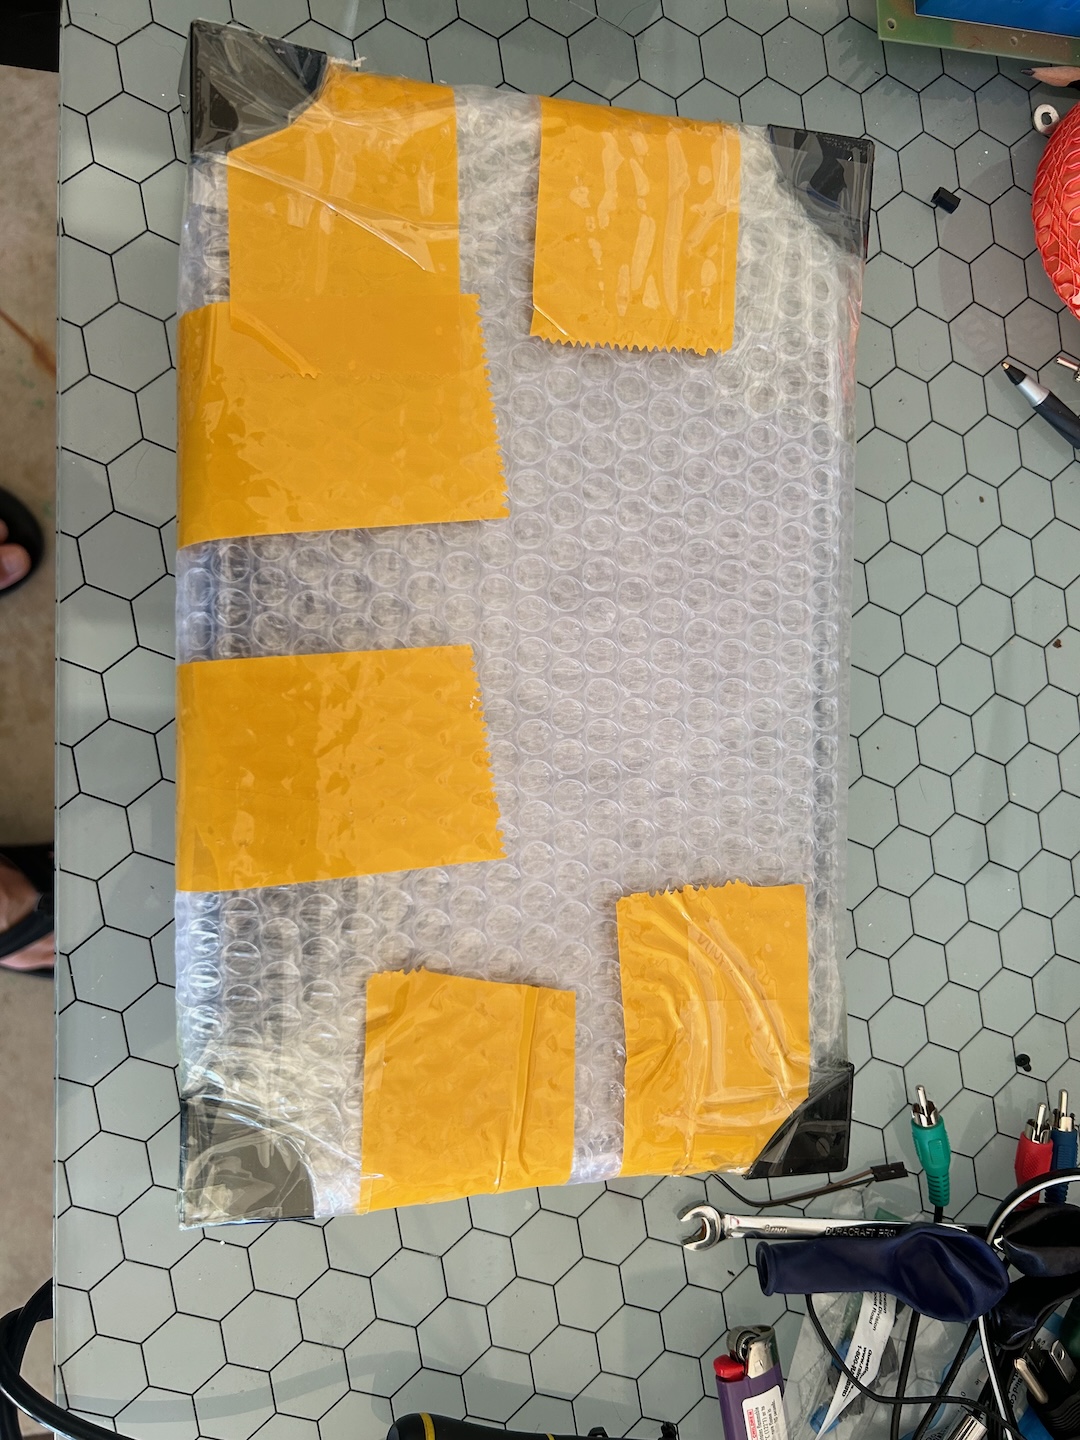
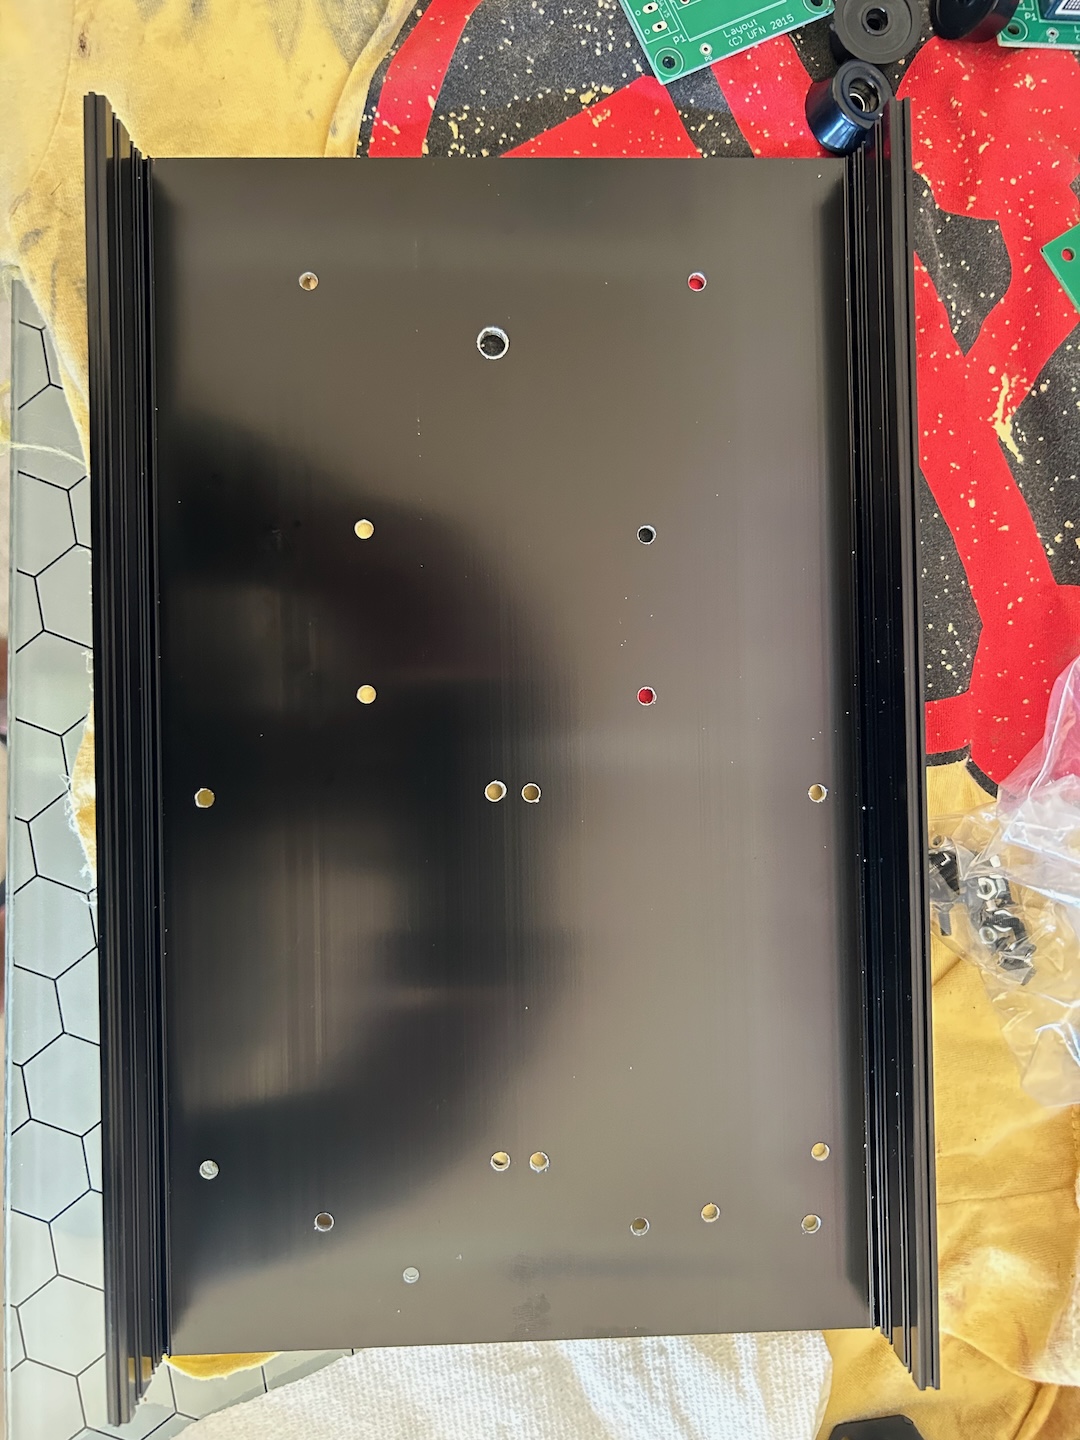
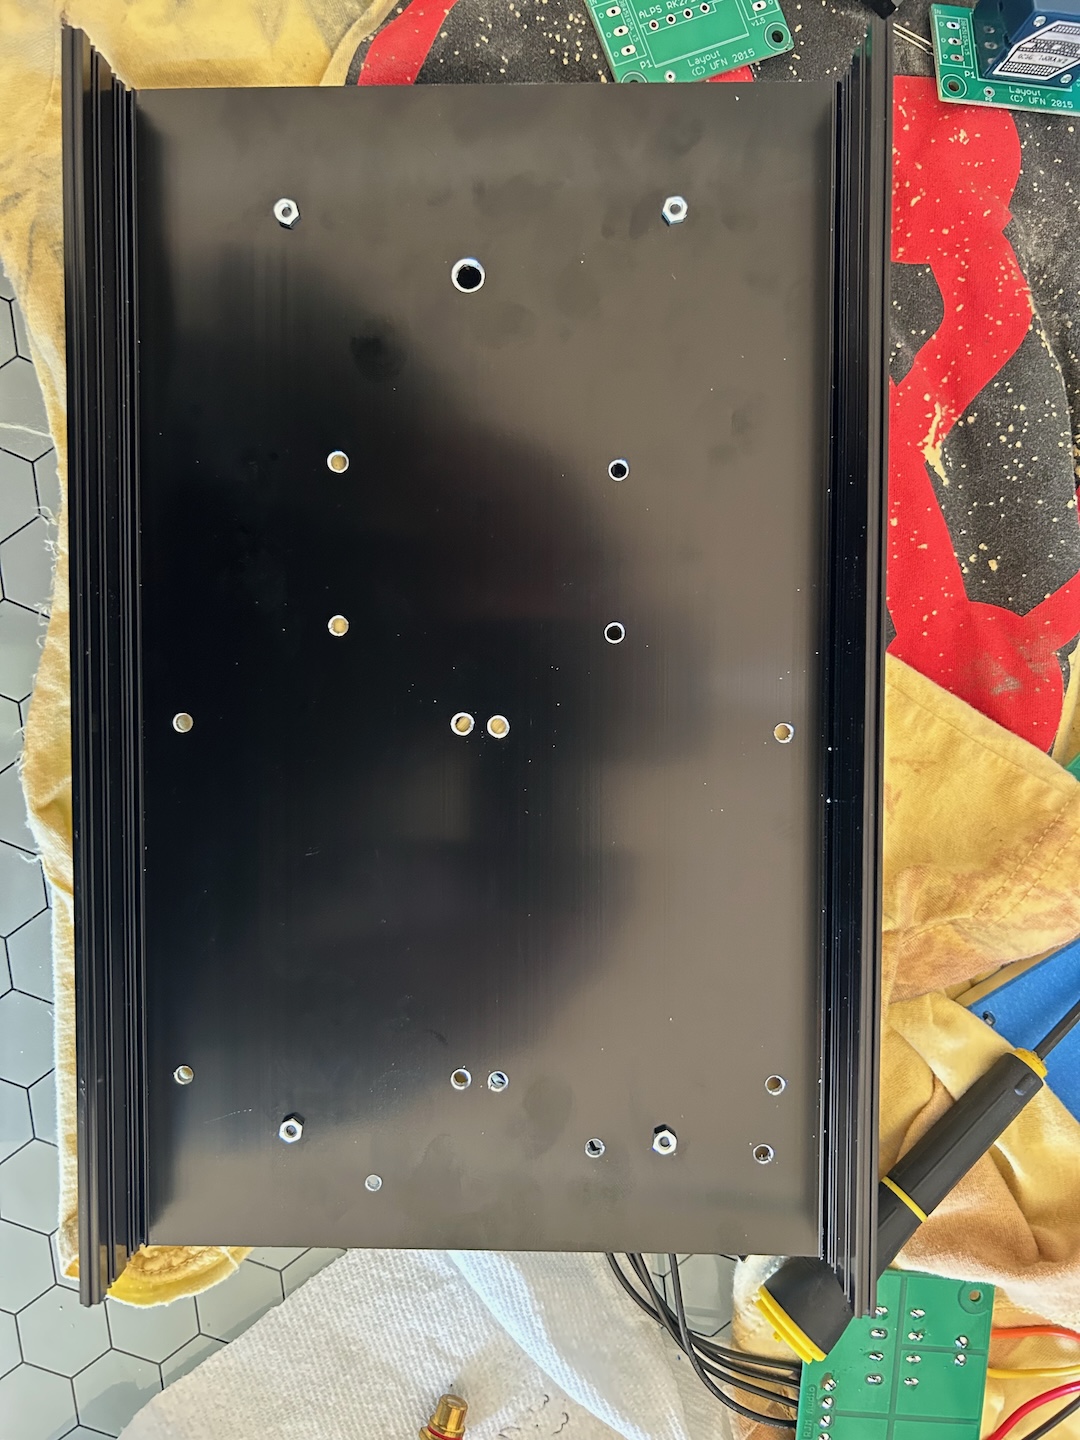
The aluminum chassis arrived from China. It came neatly packaged like this.
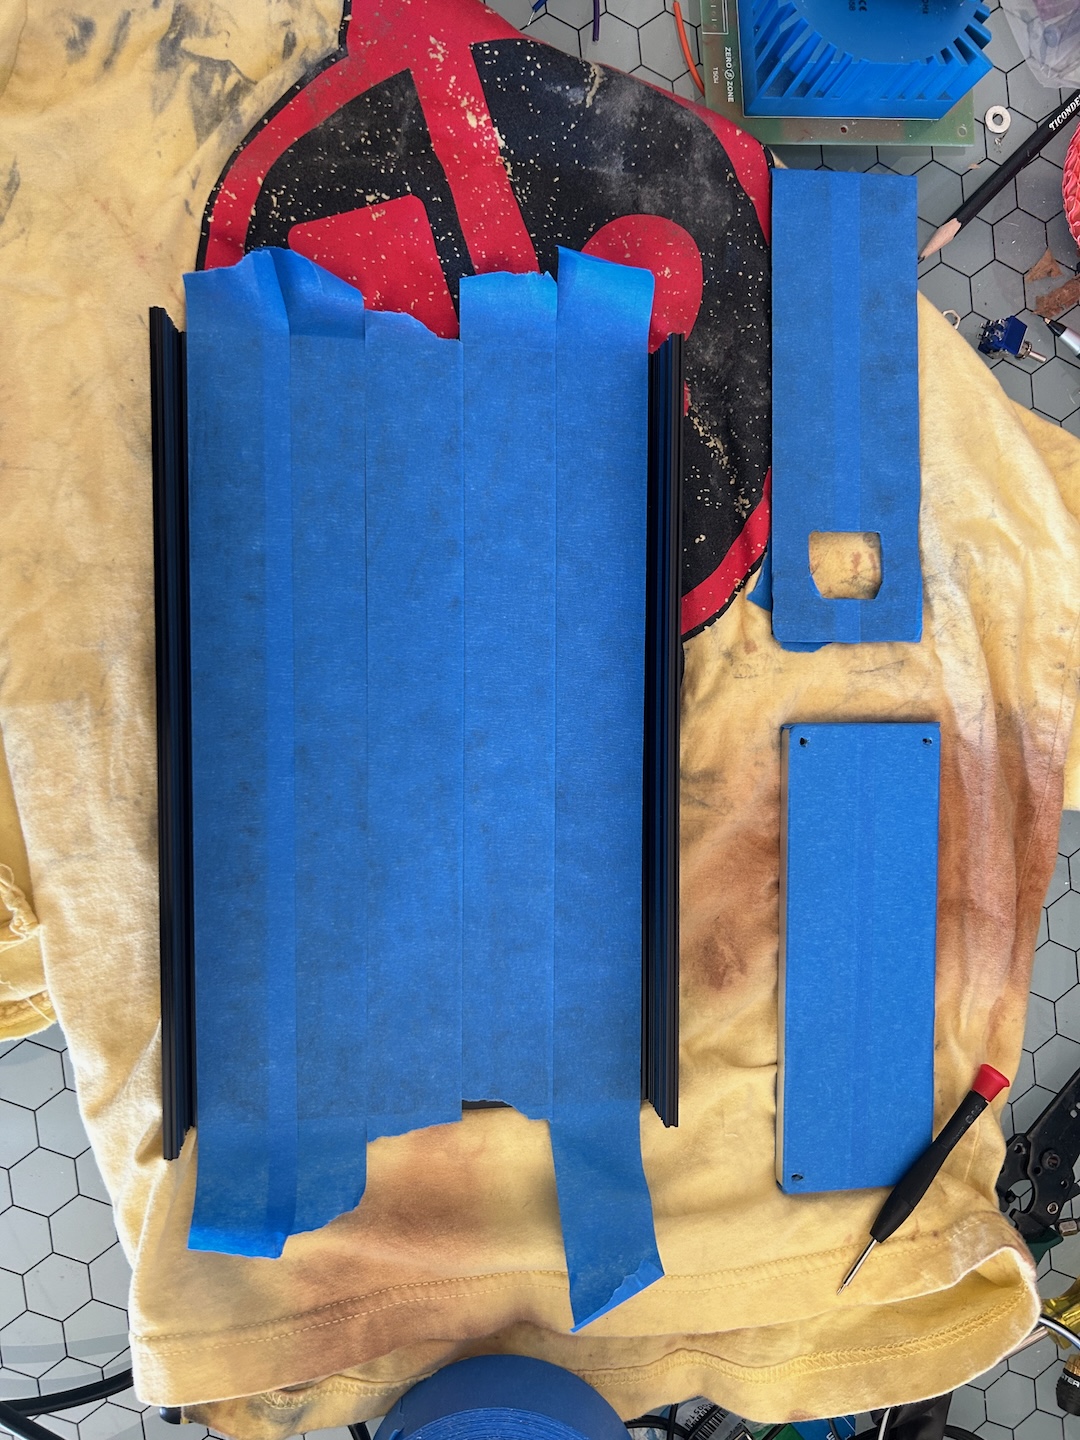
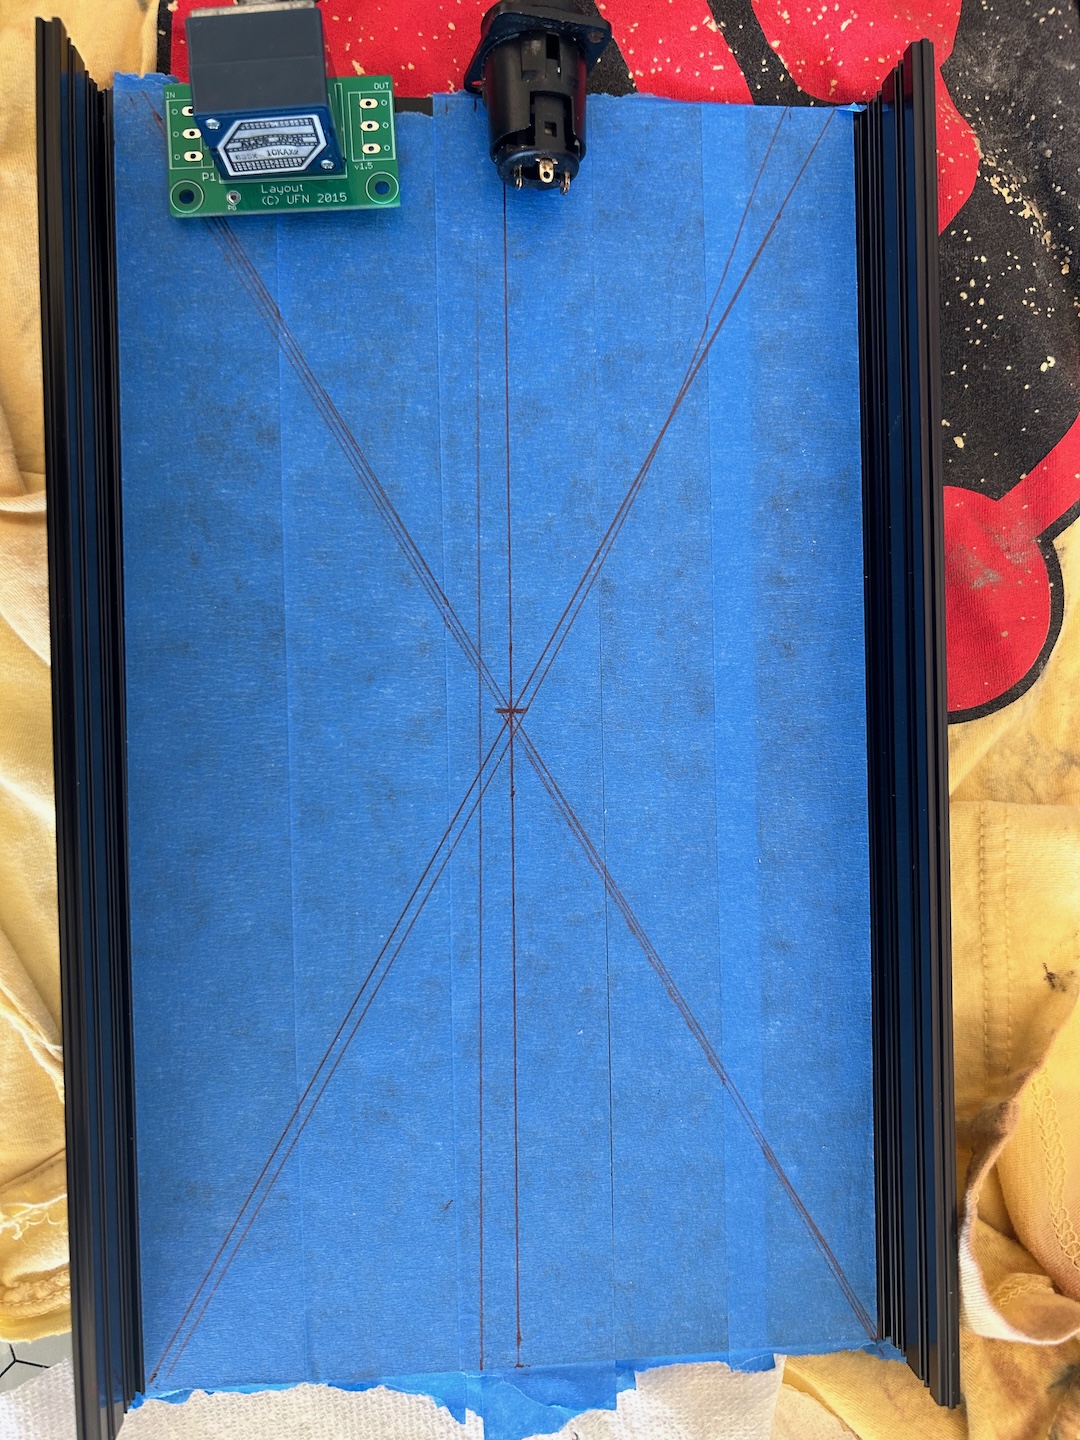
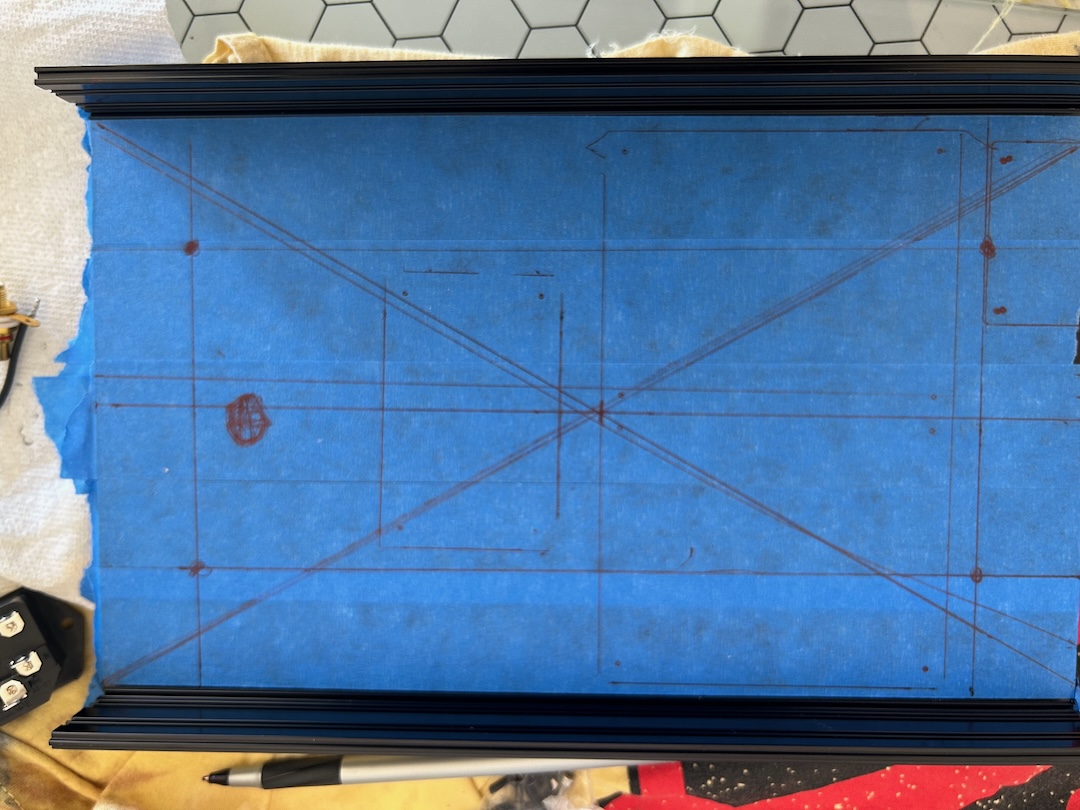
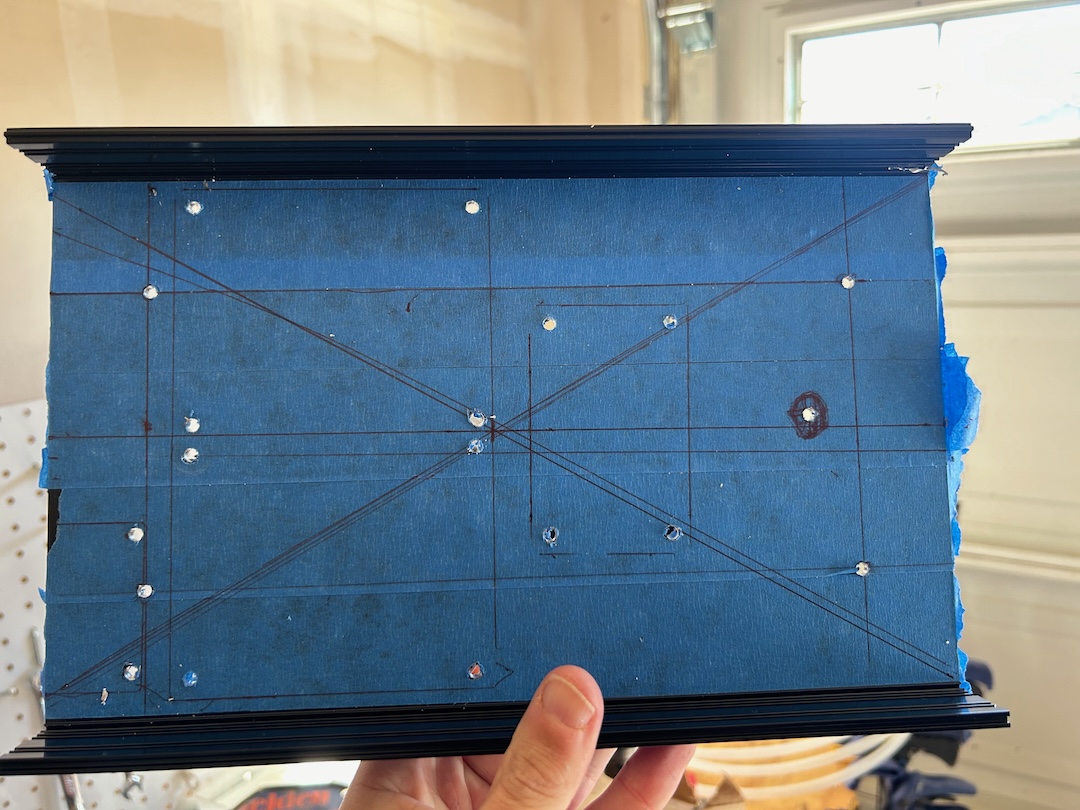
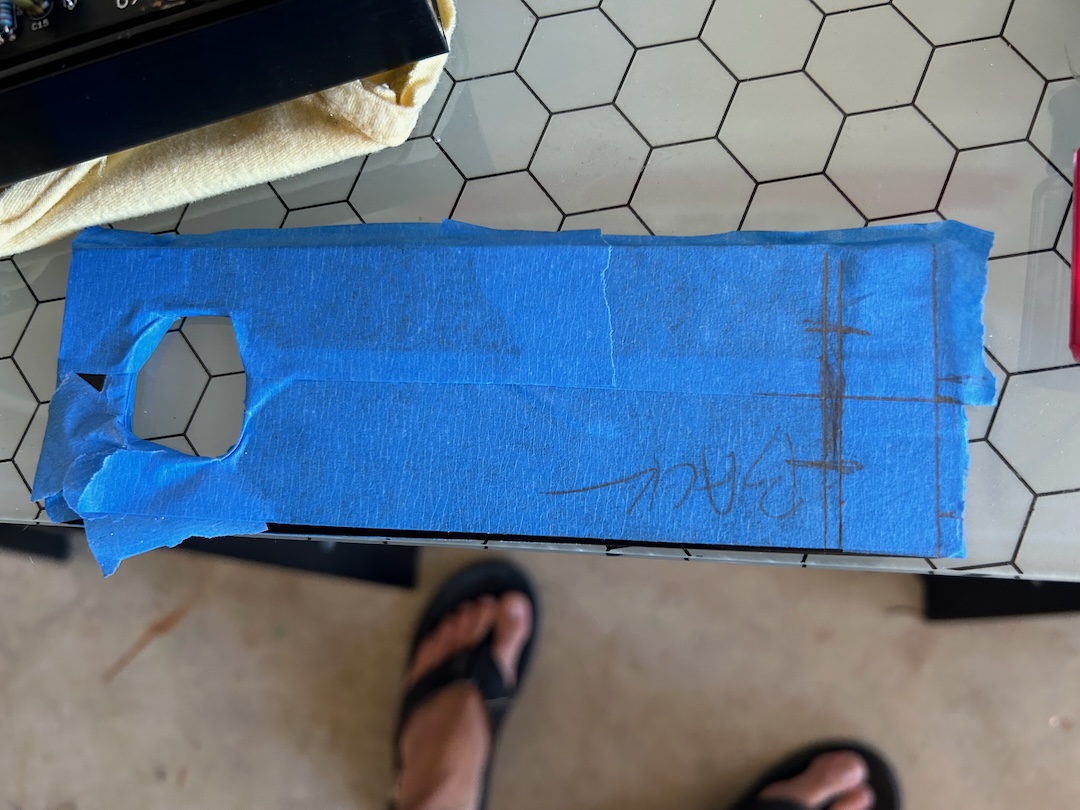
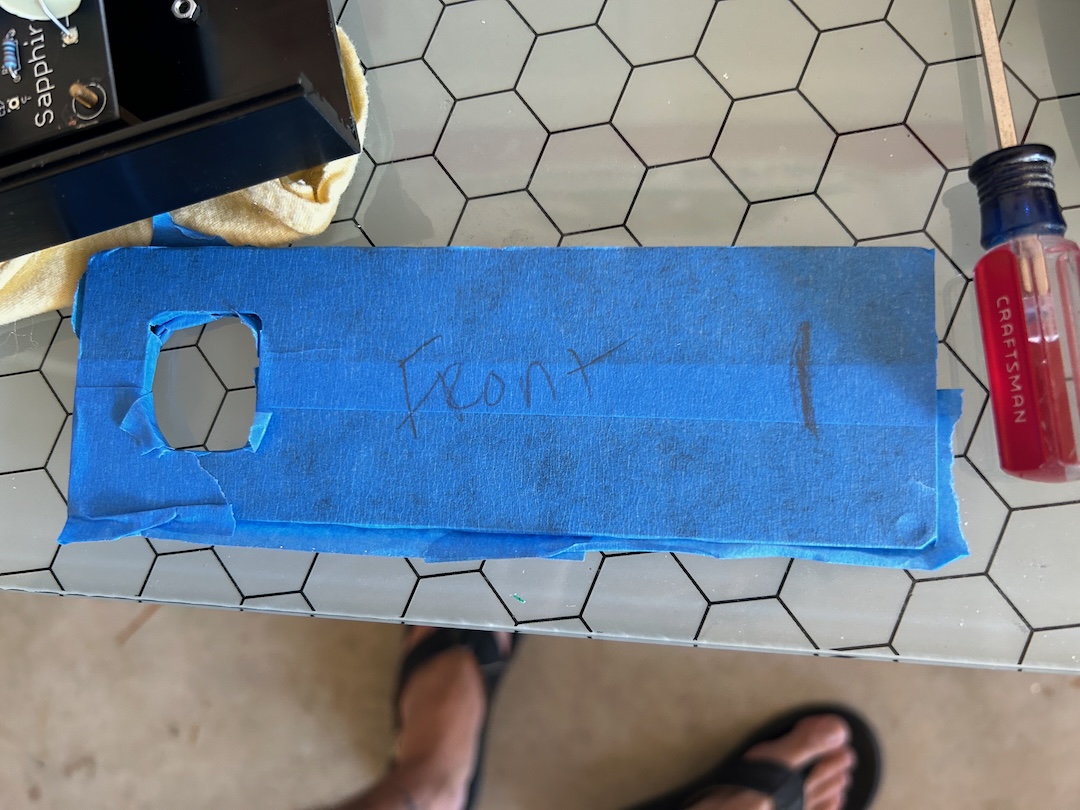
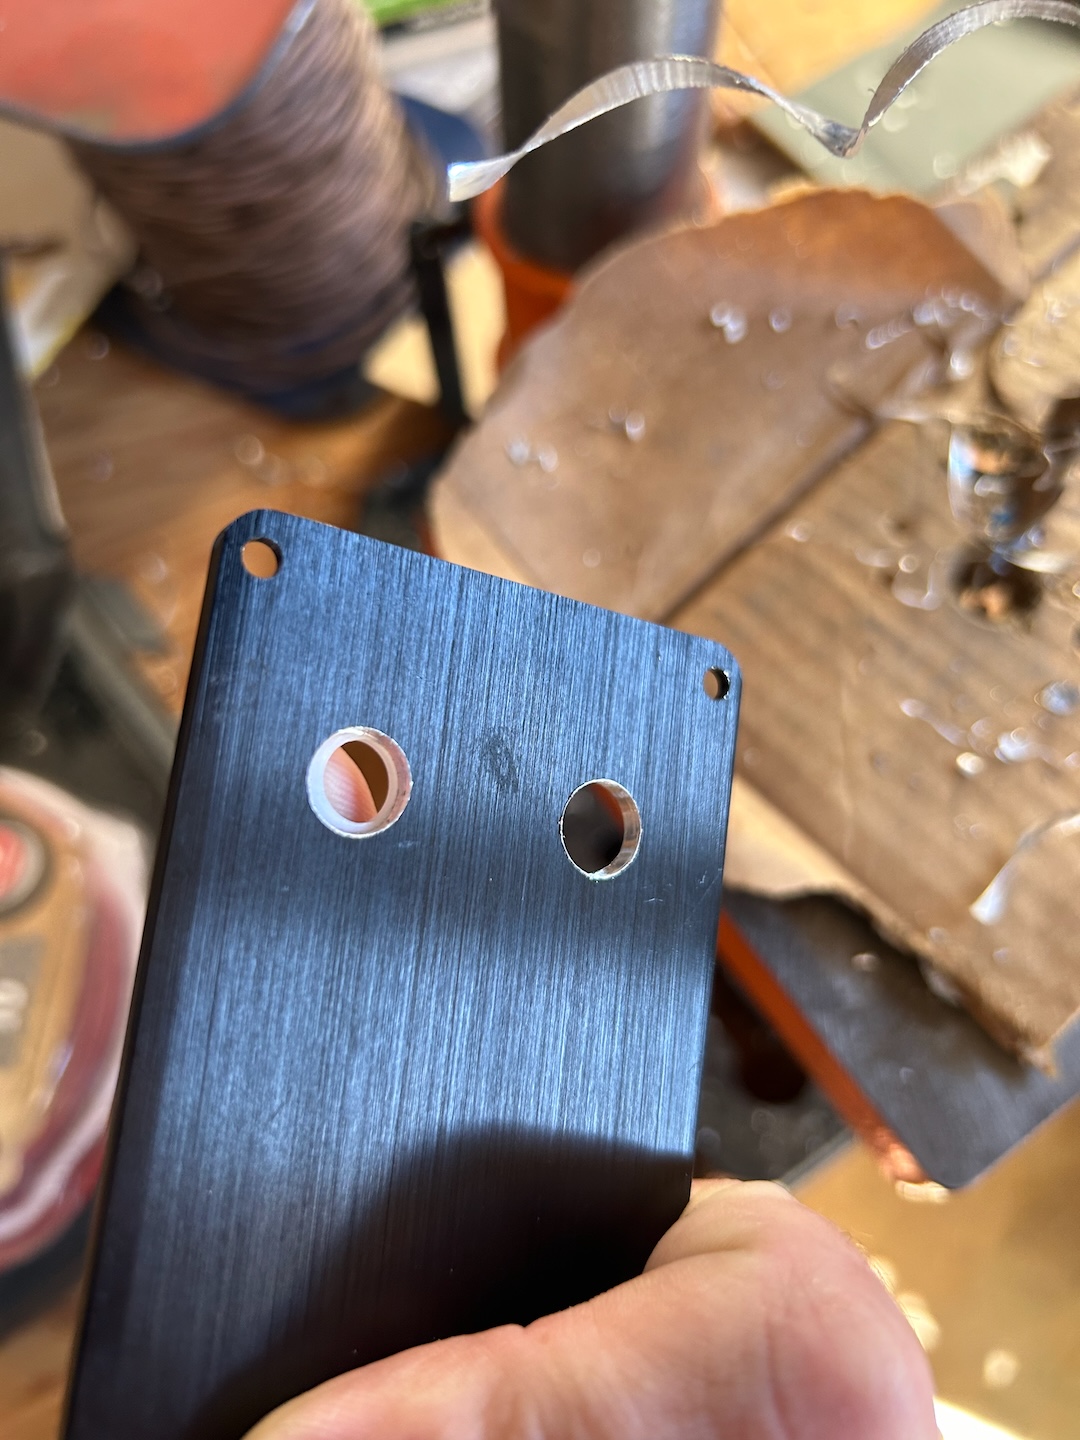
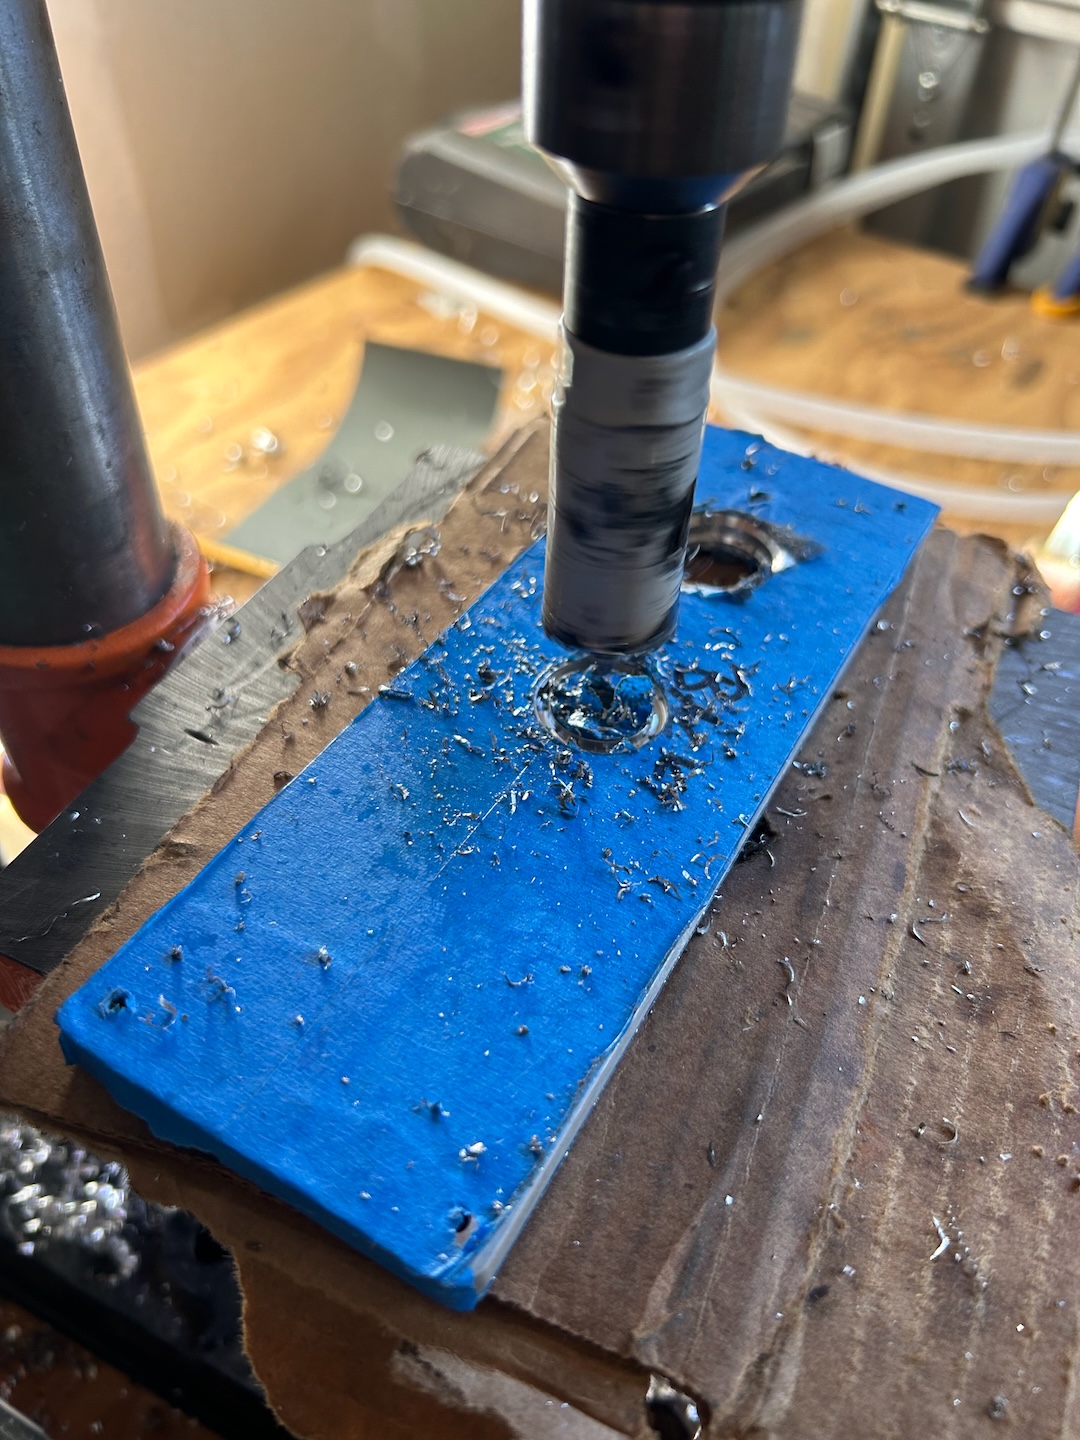
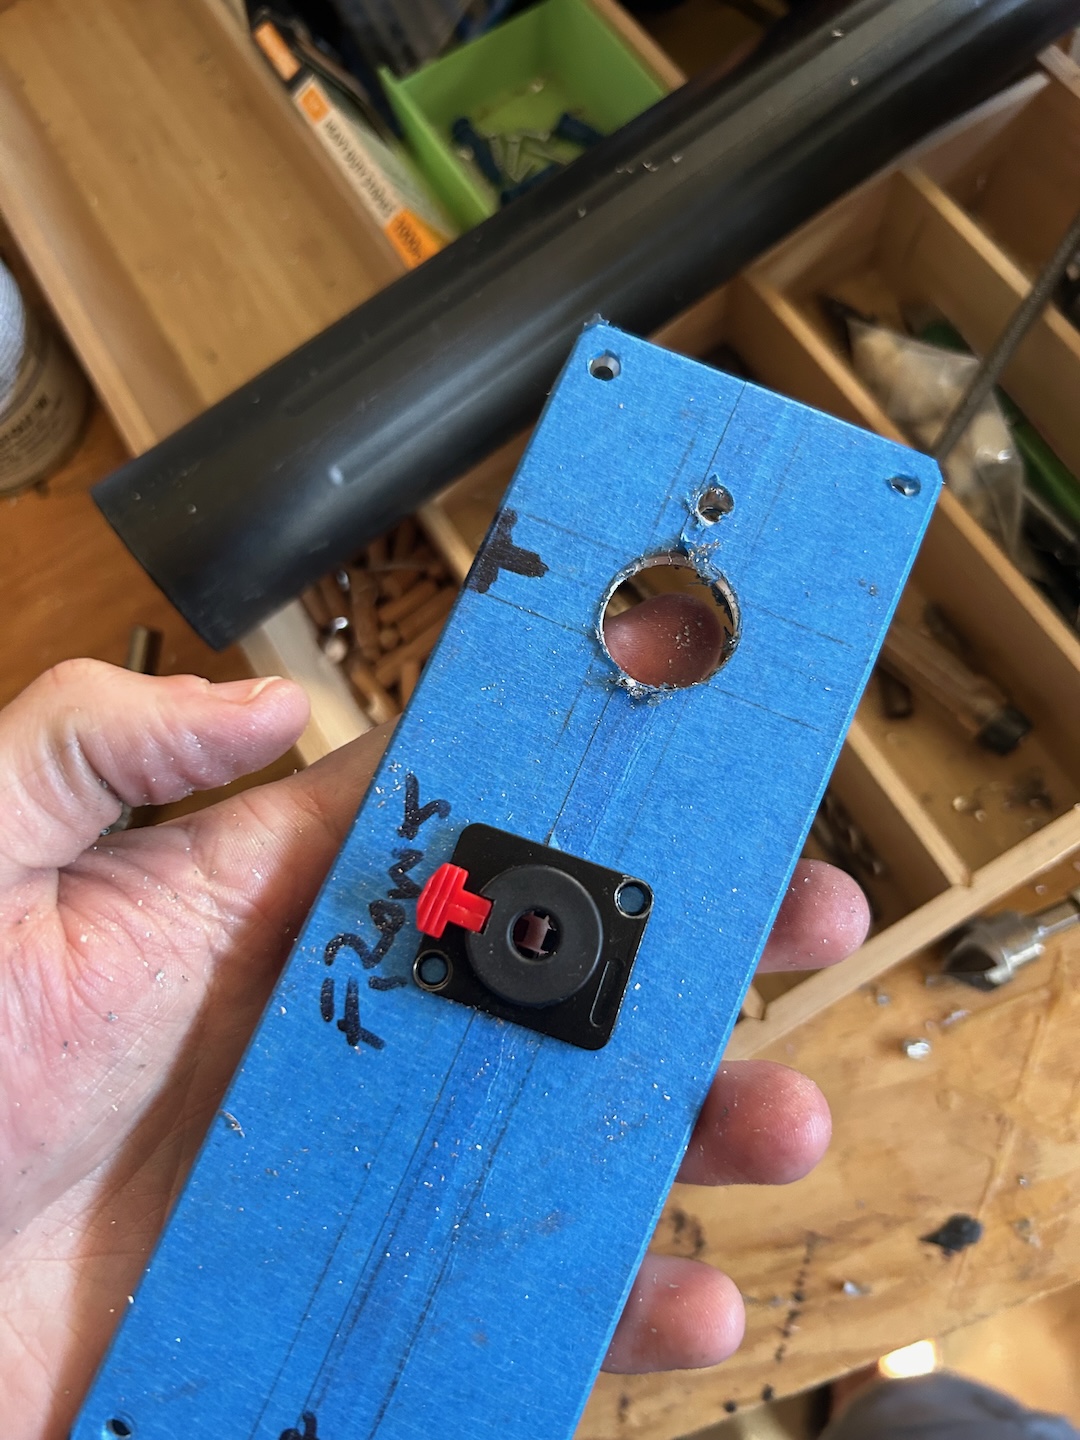
PROTIP: Use painter’s tape on everything so not to scratch the finish and draw a layout on the tape.
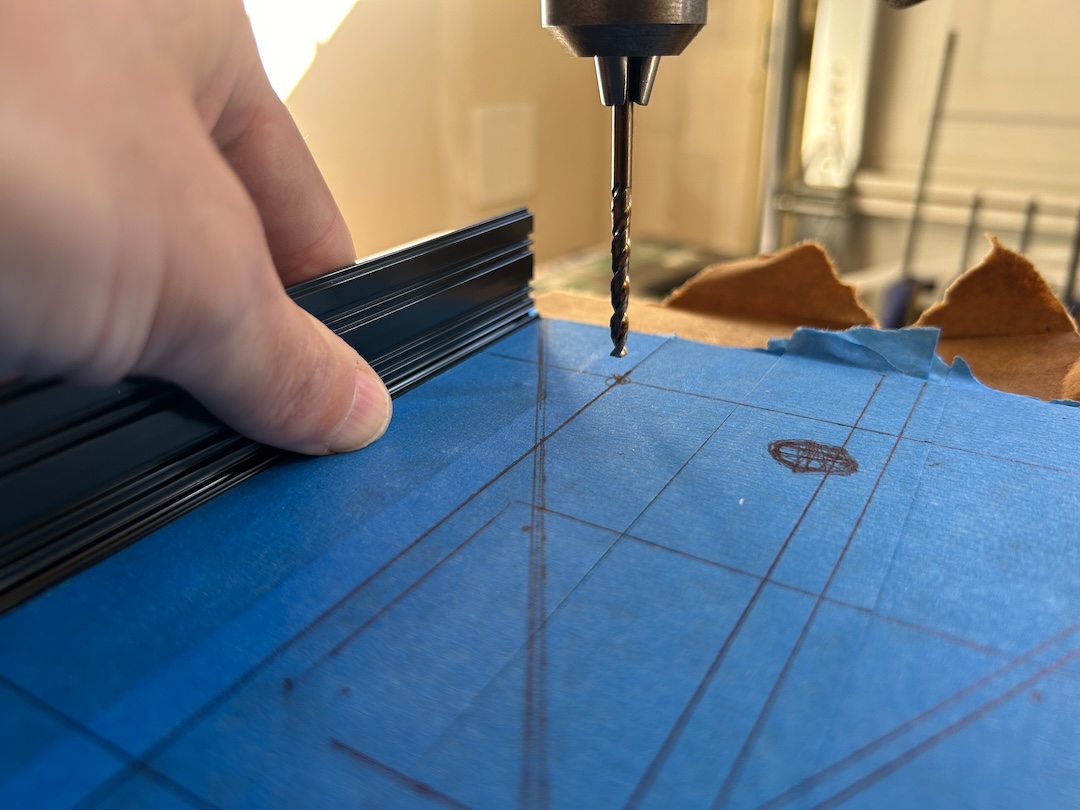
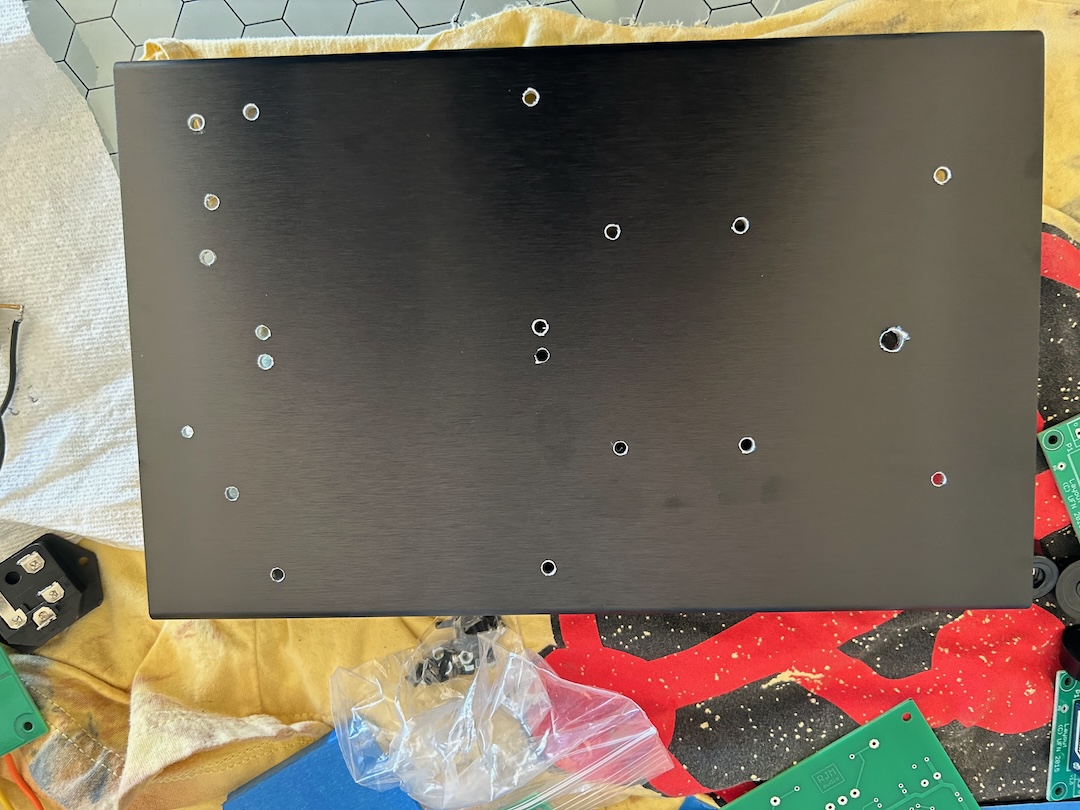
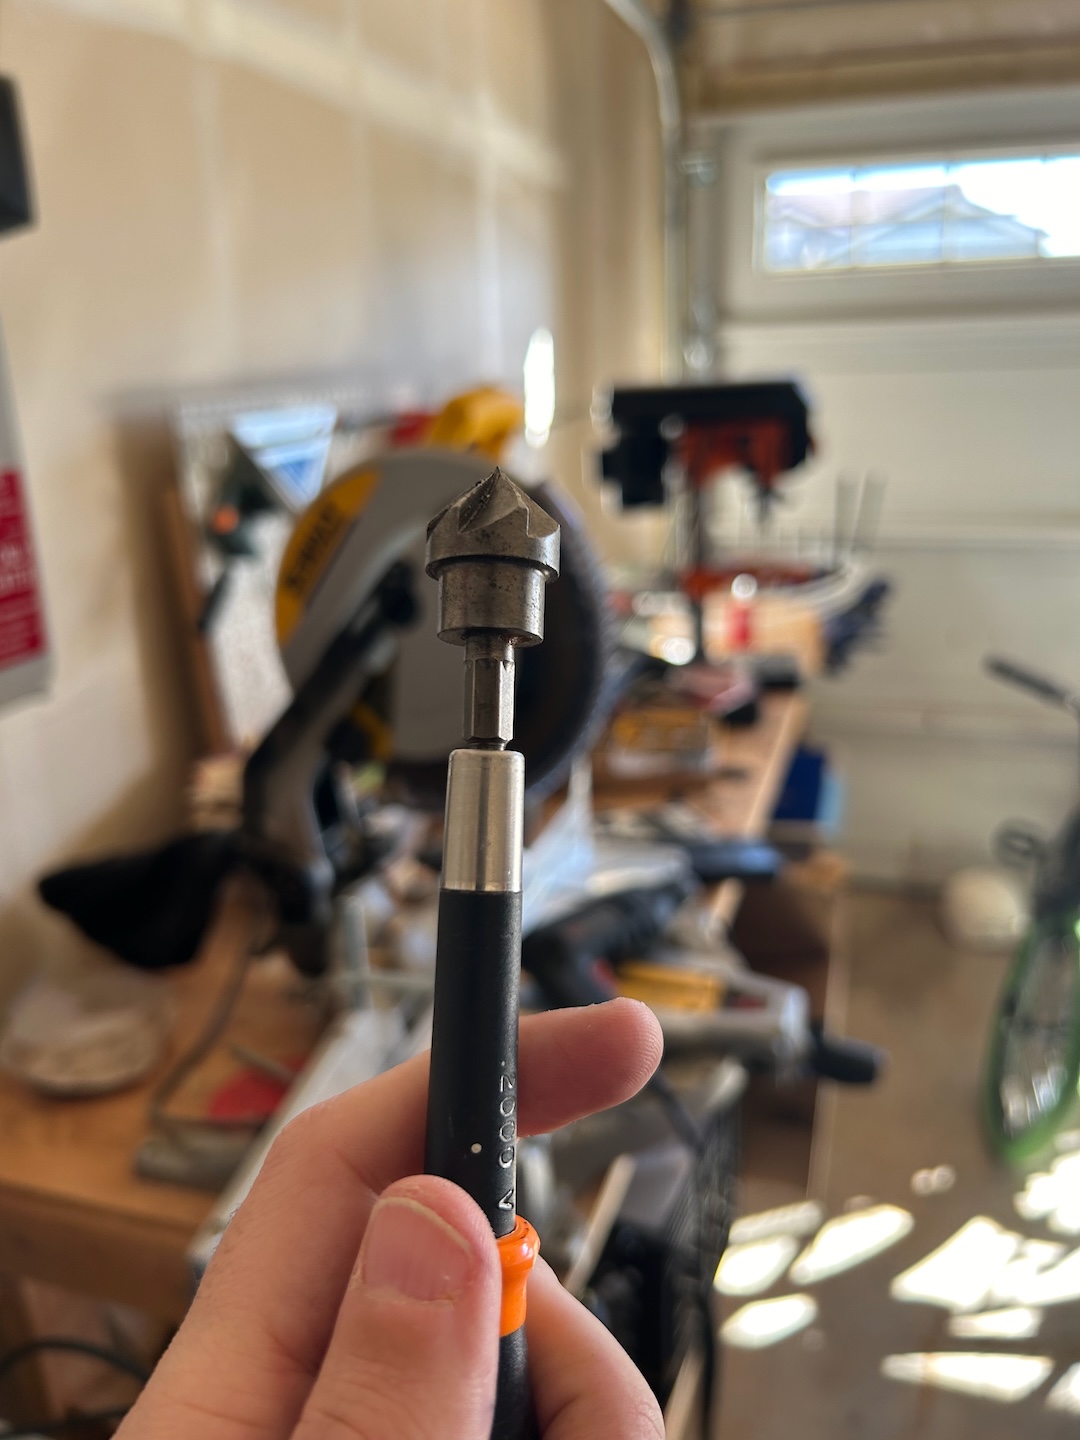
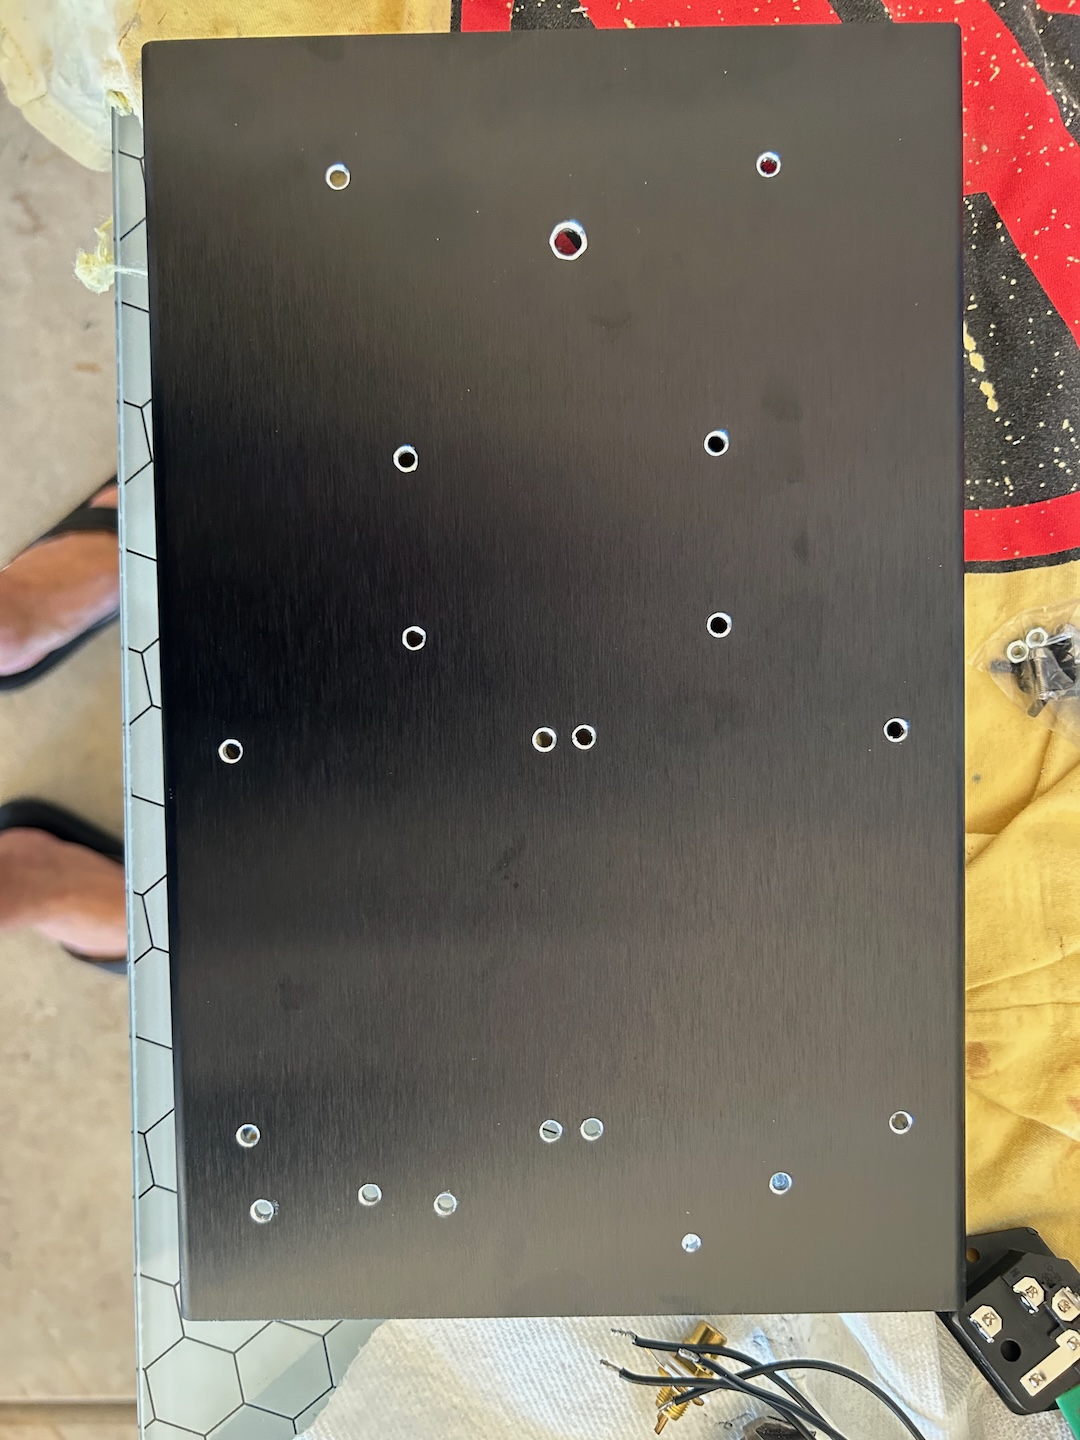
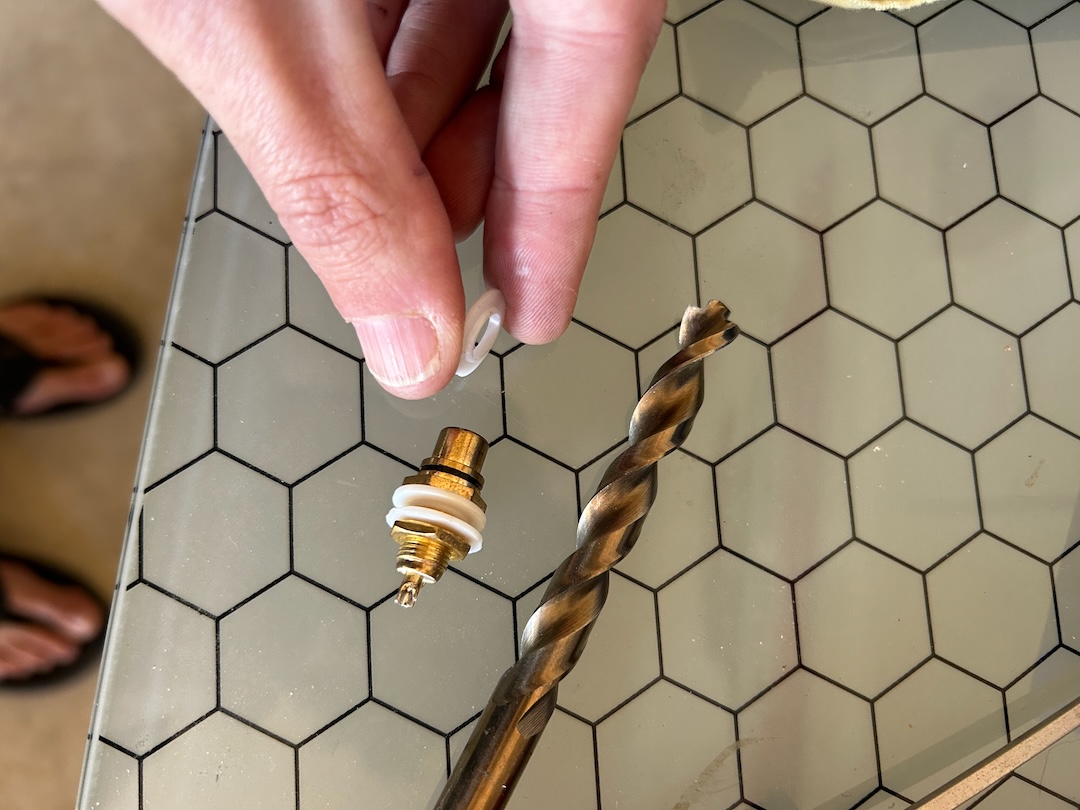
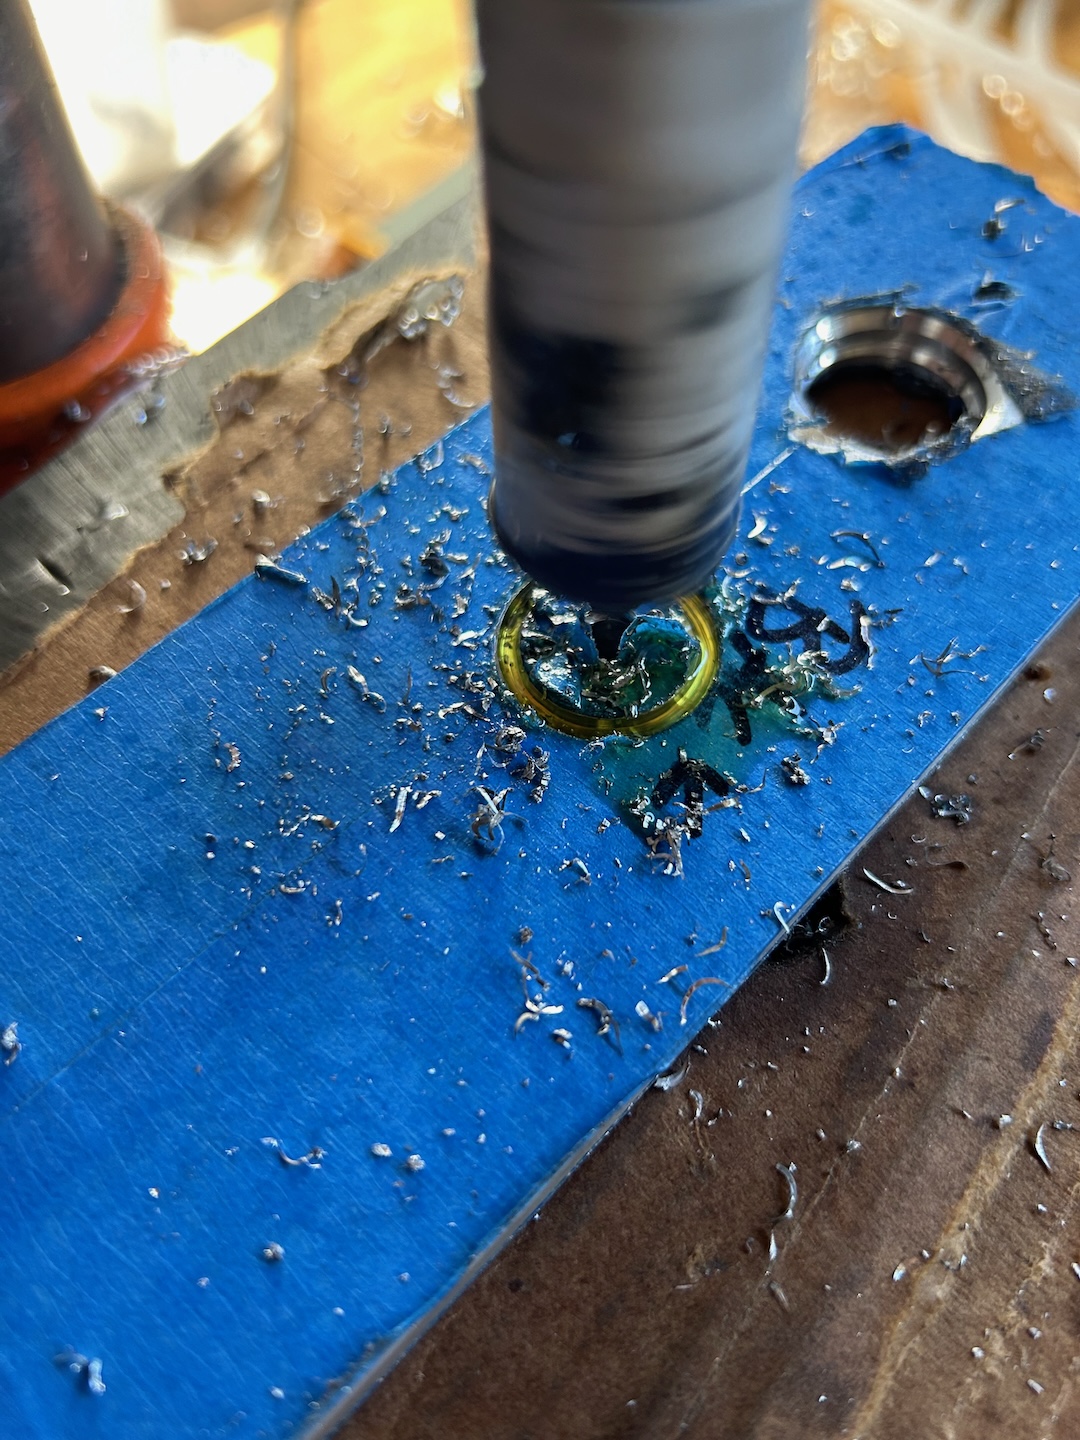
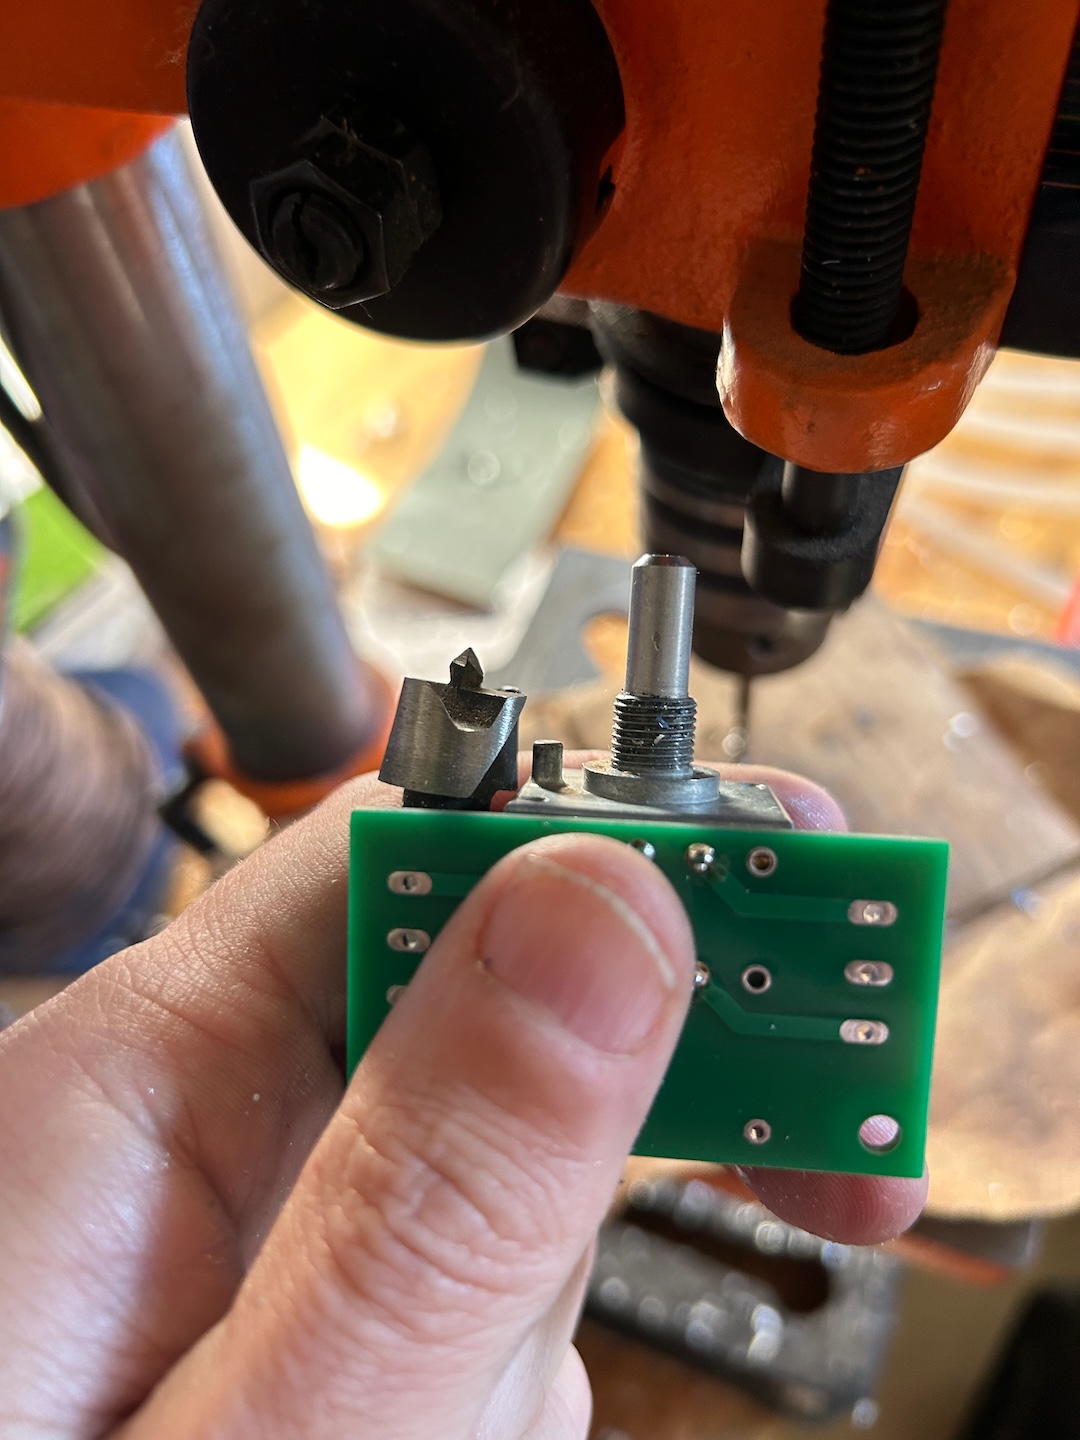
A drill press, quality bits, and cutting fluid are our friends today. Always make sure you’re drililng the right sized holes for what needs to go through them. Measure three times, cut/drill once.

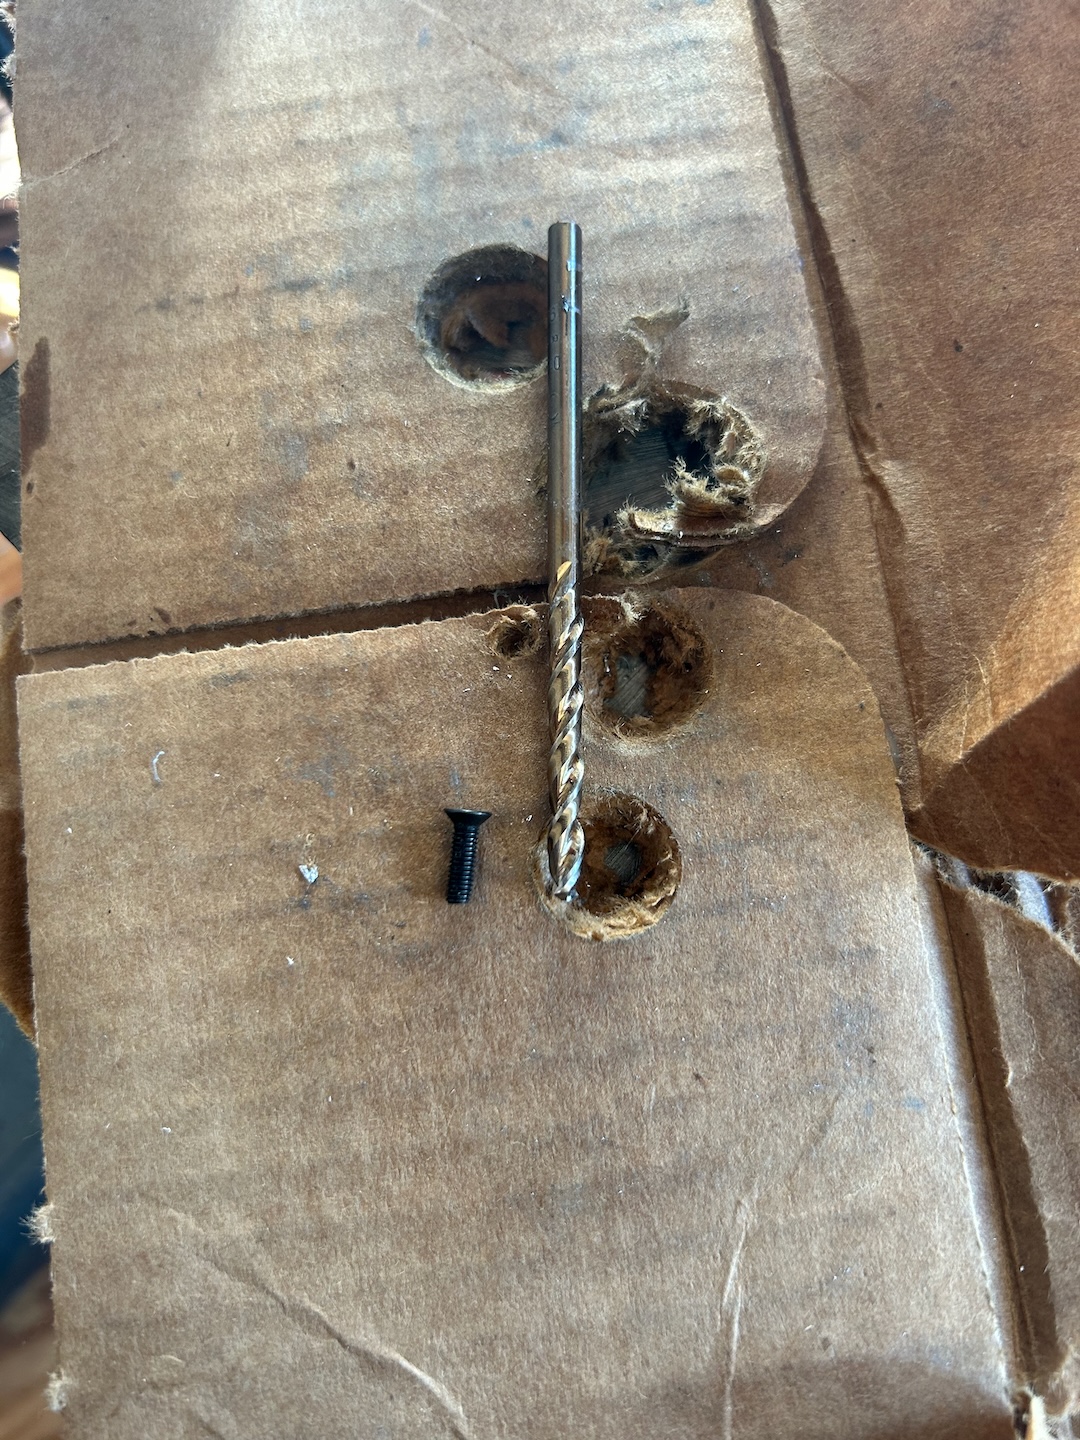


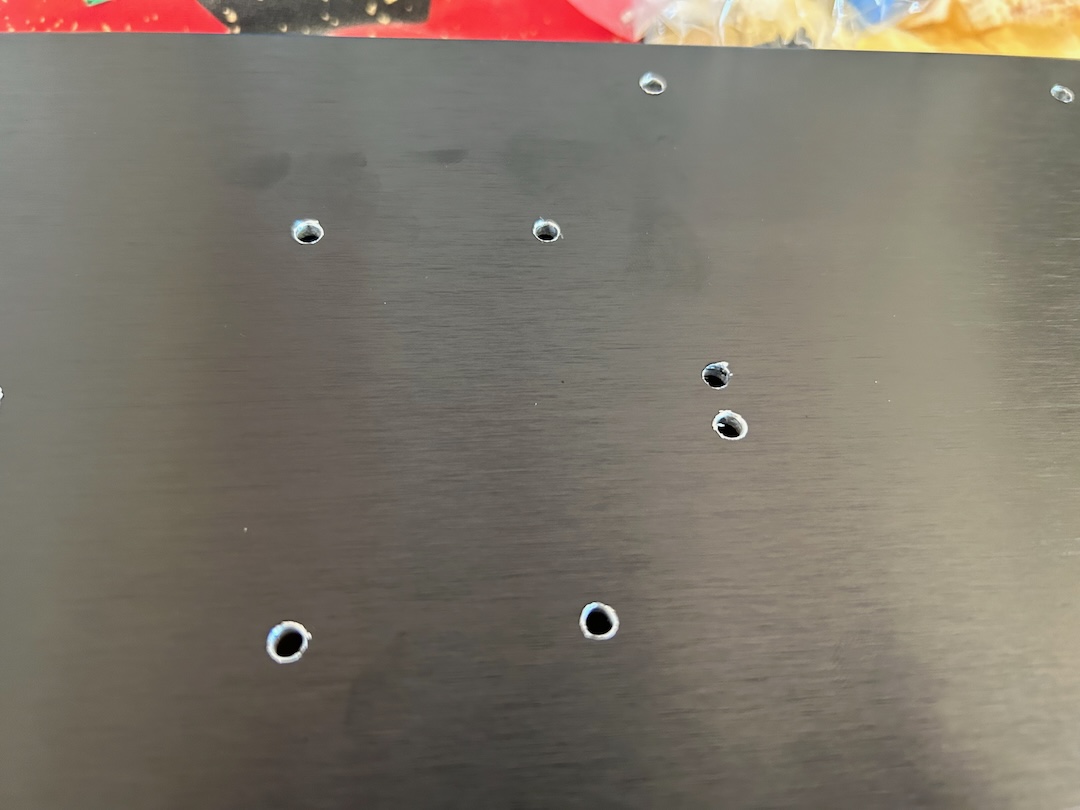
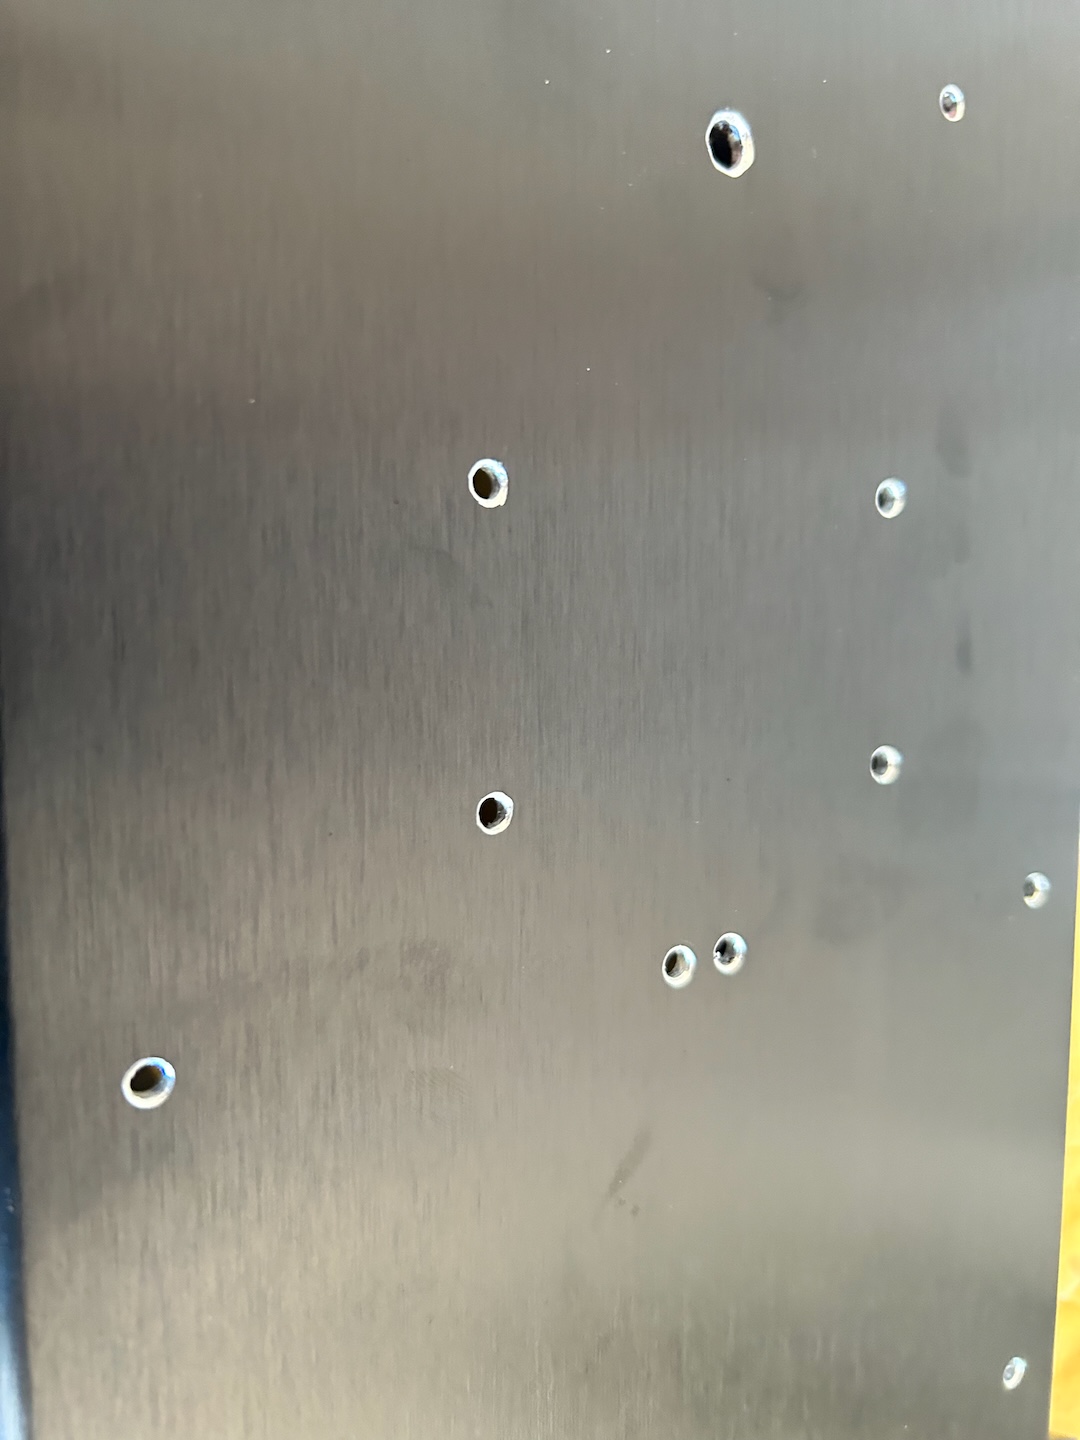
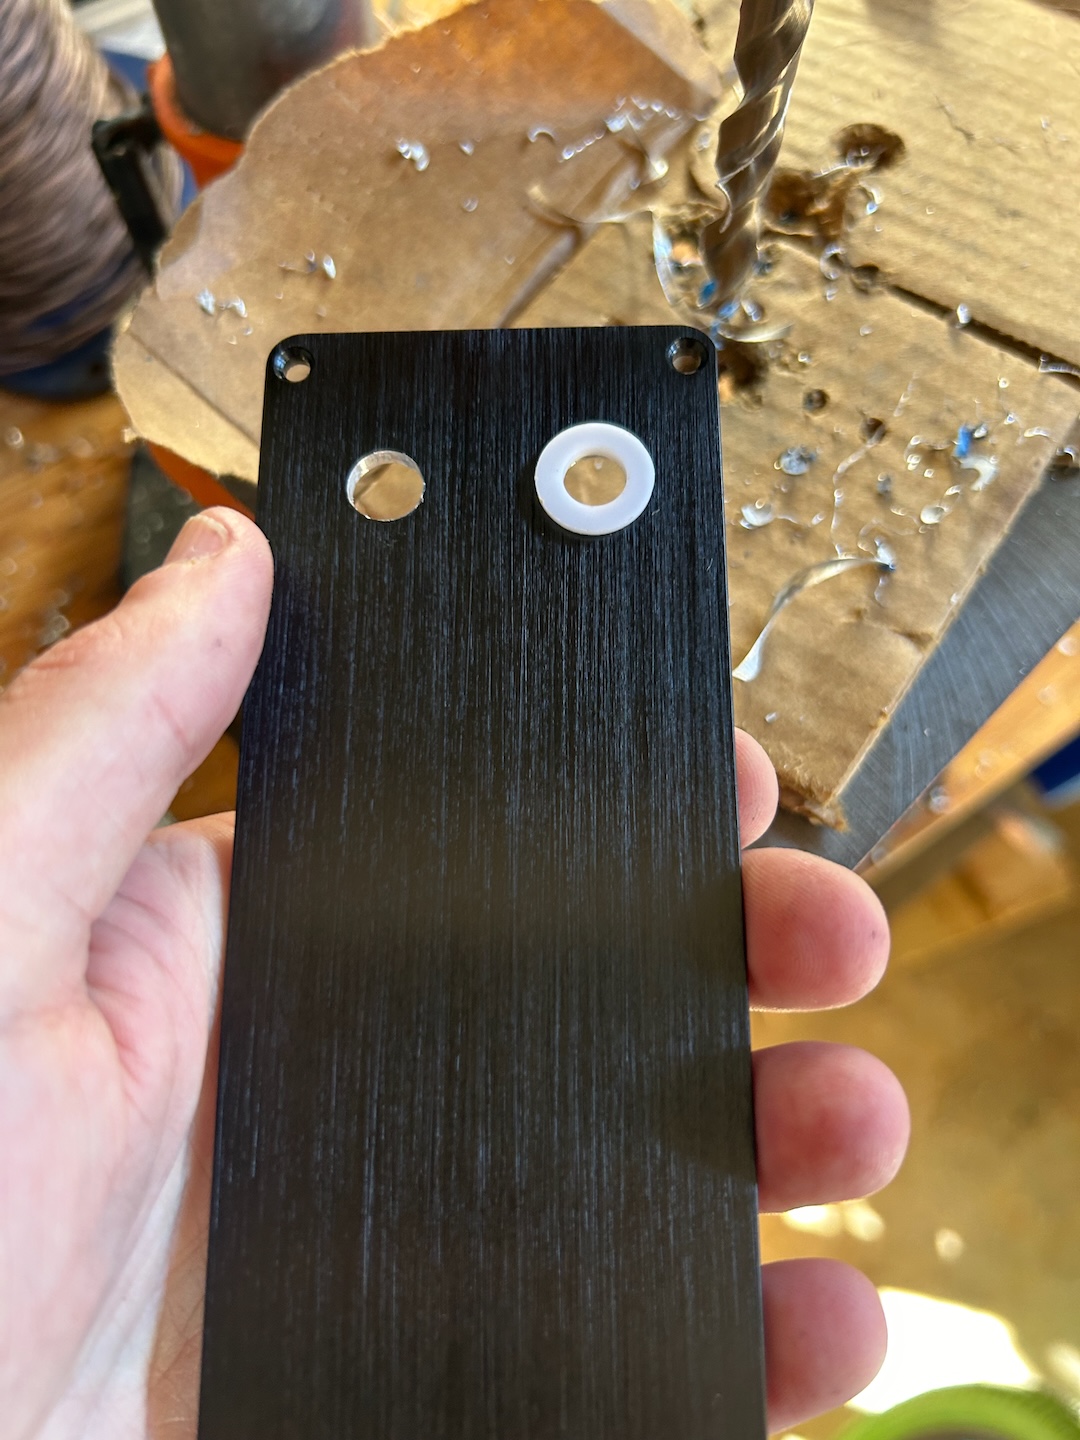
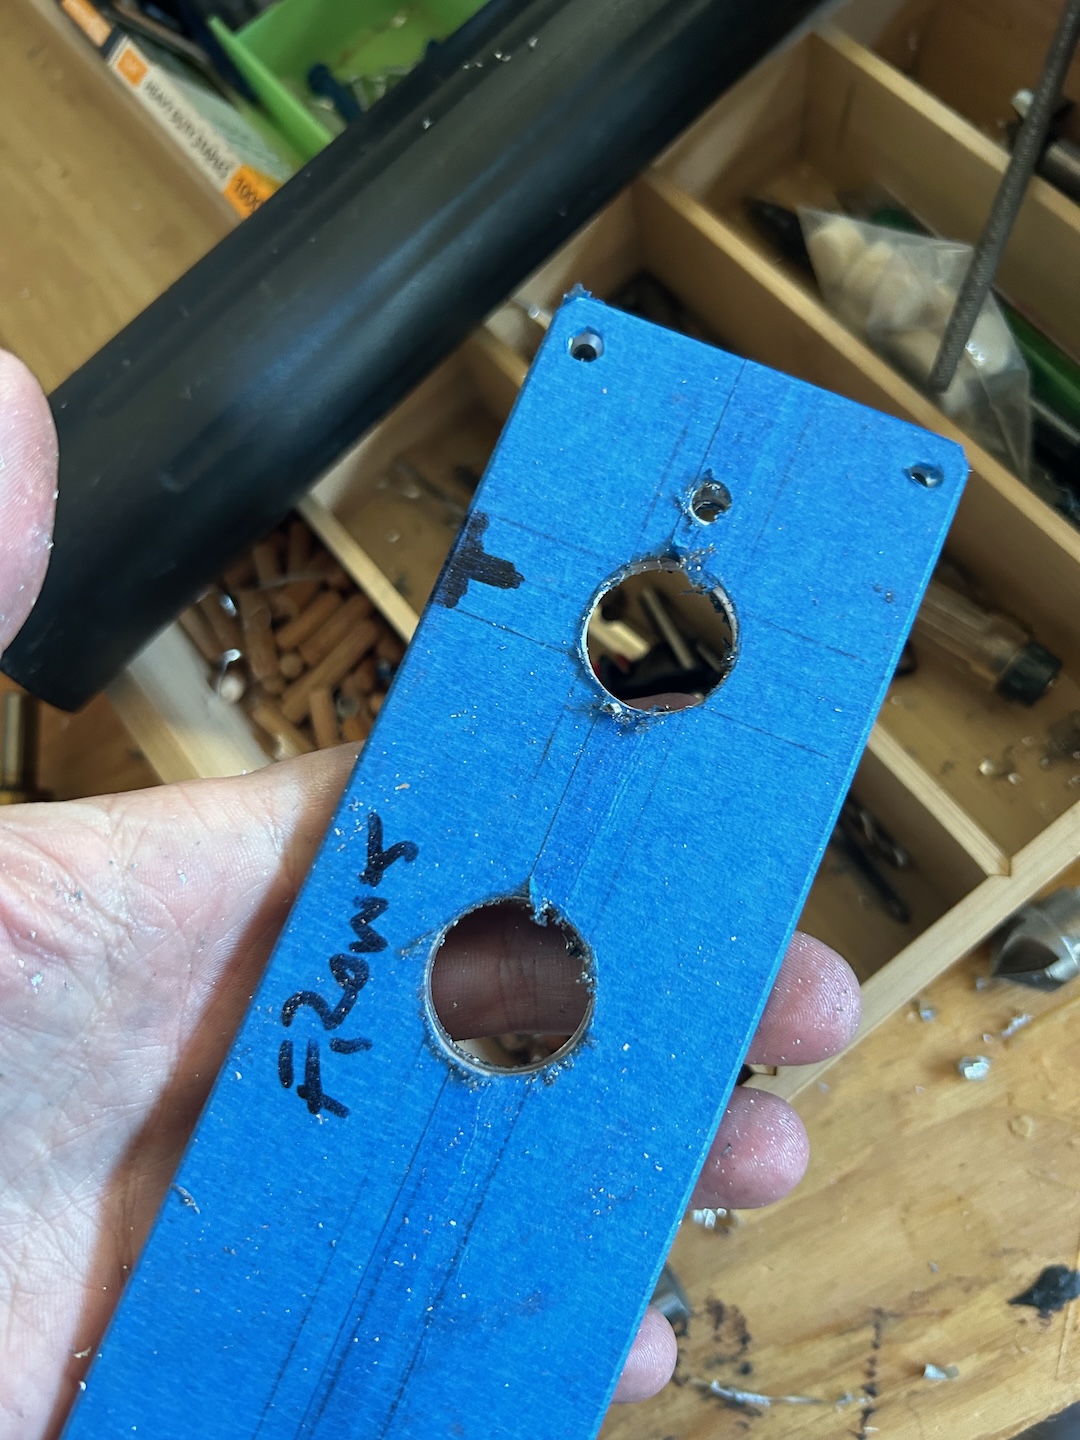
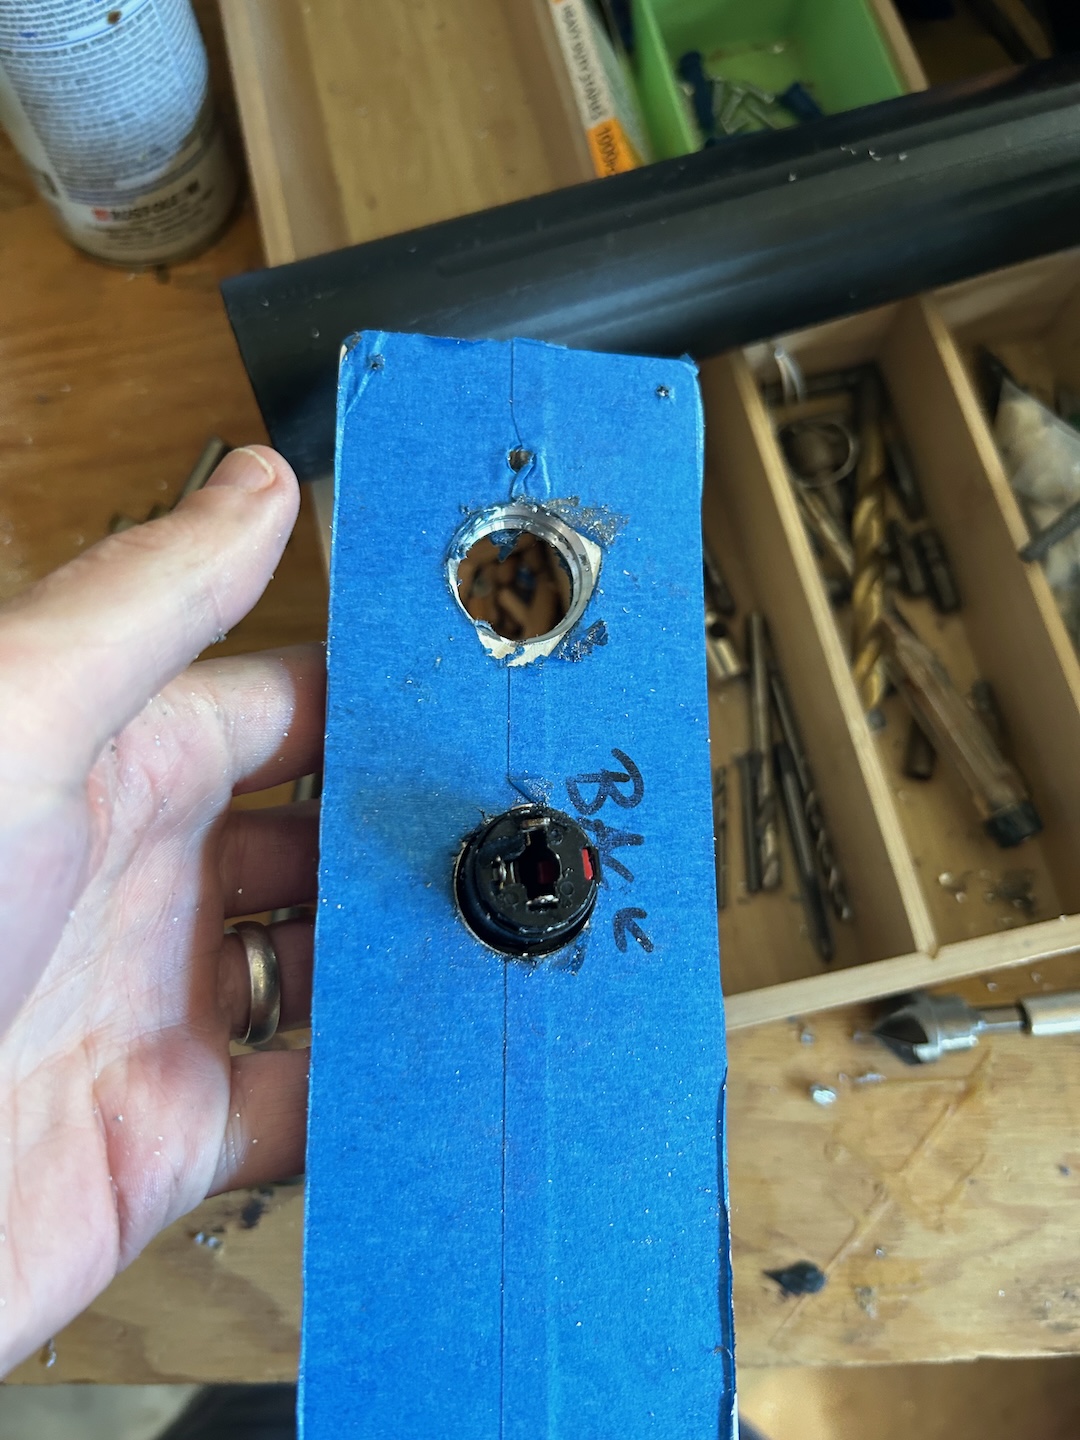
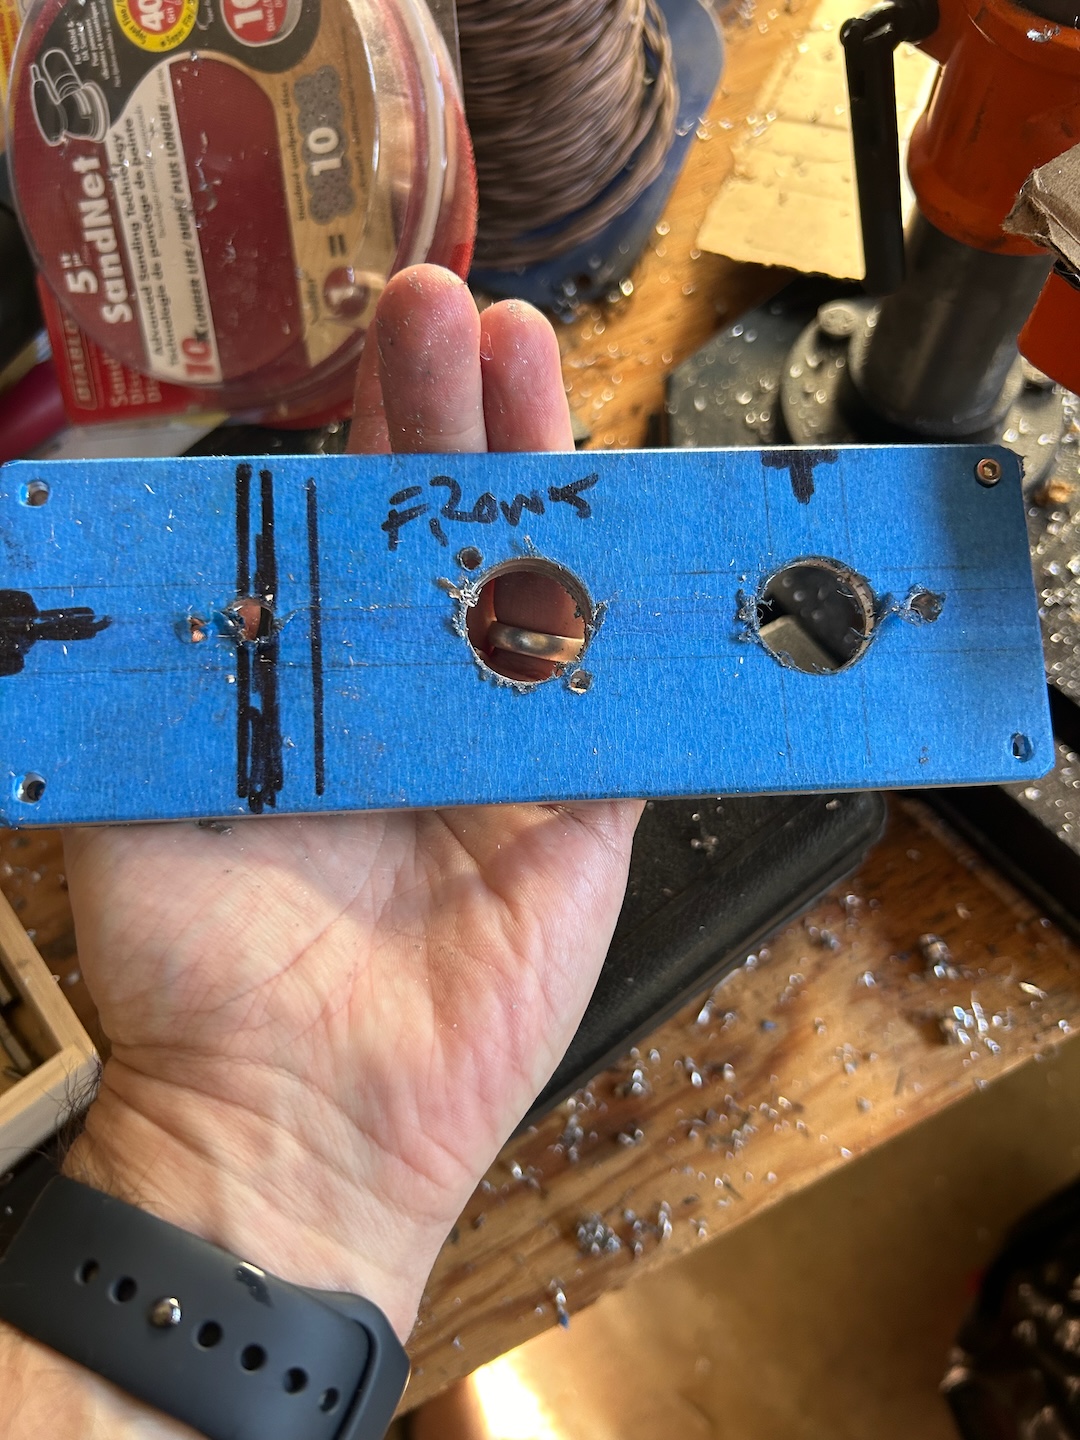
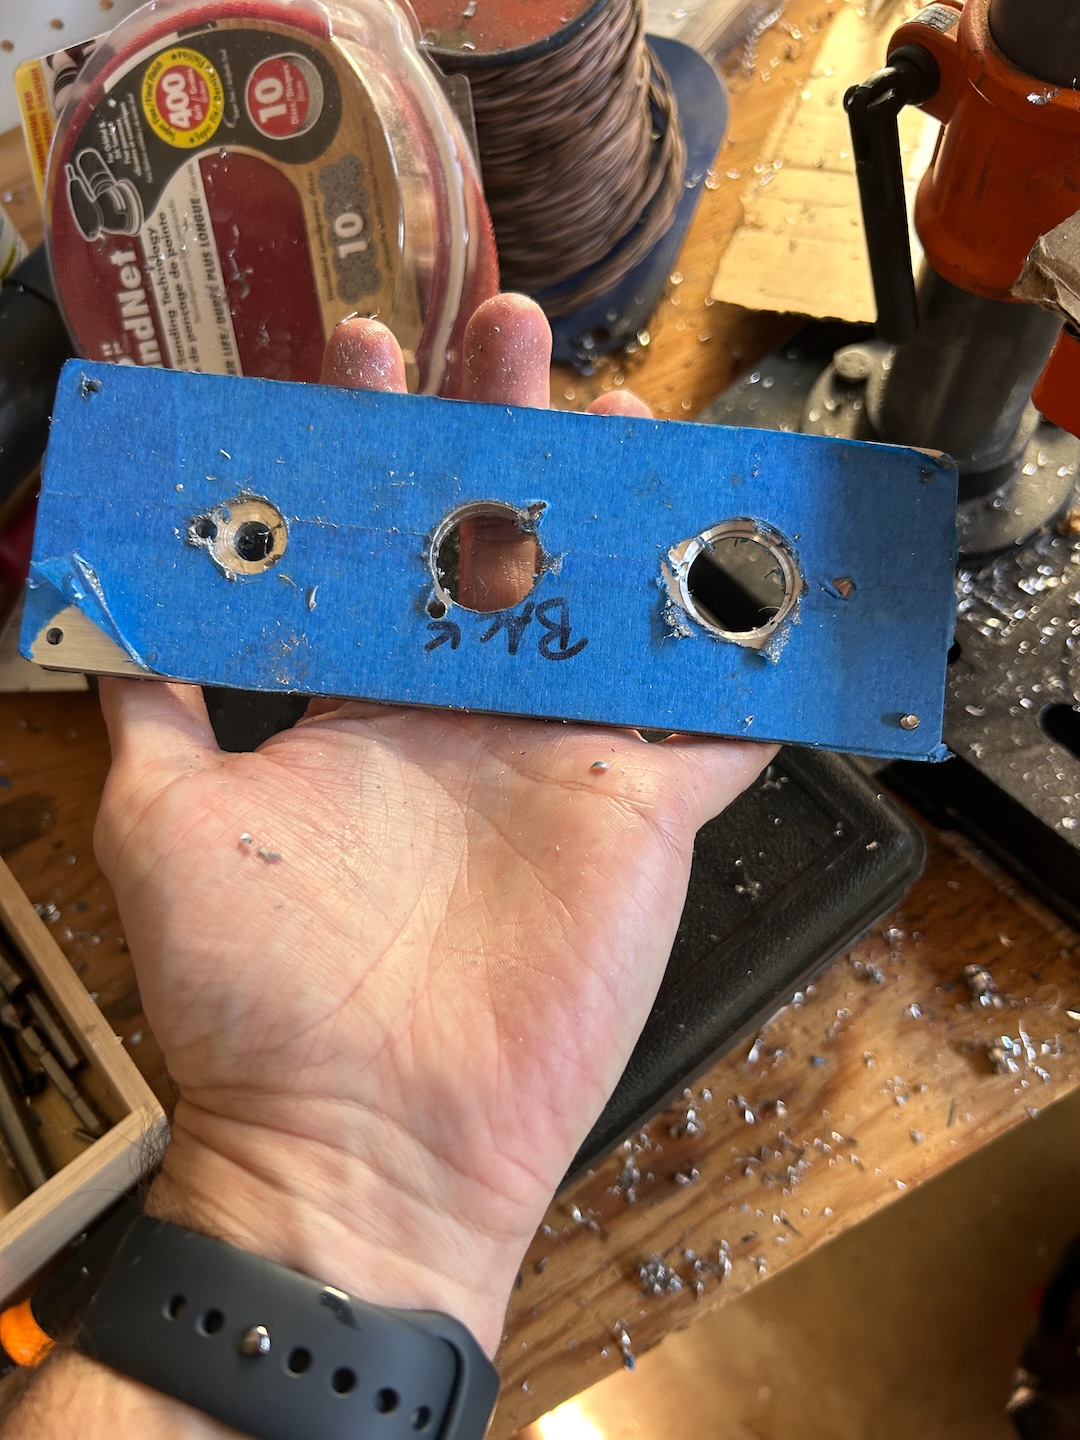
Notice how ass those look? This is the sign of a bad/incorrect-for-the-material drill bit. So, lets fix it and de-bur everything.
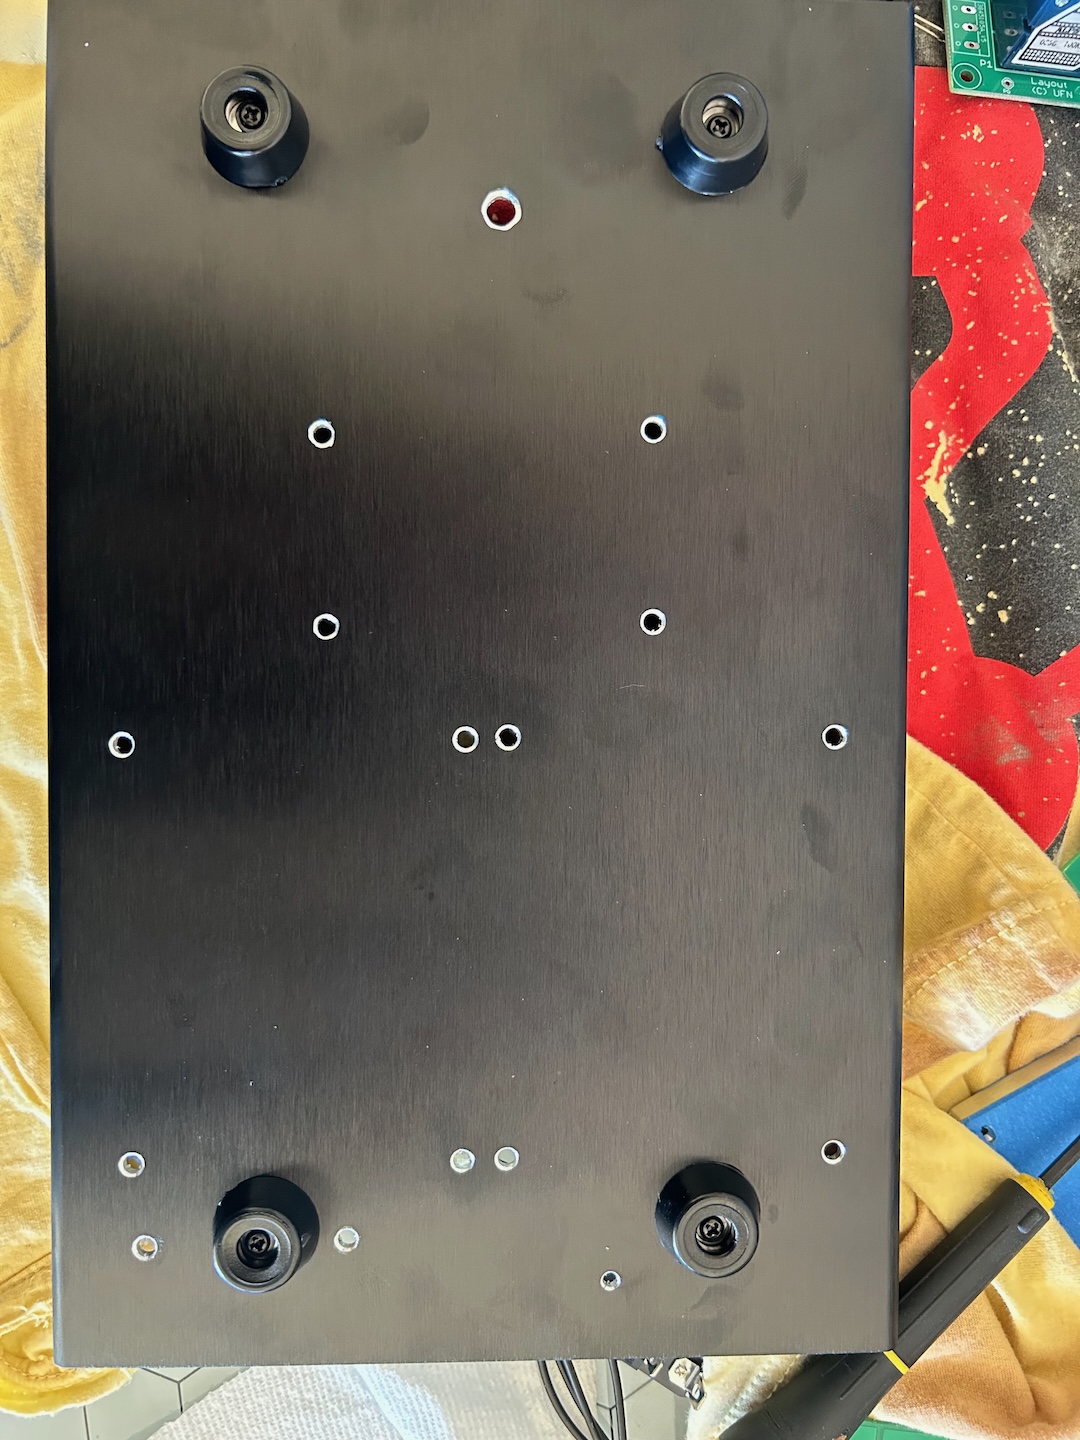
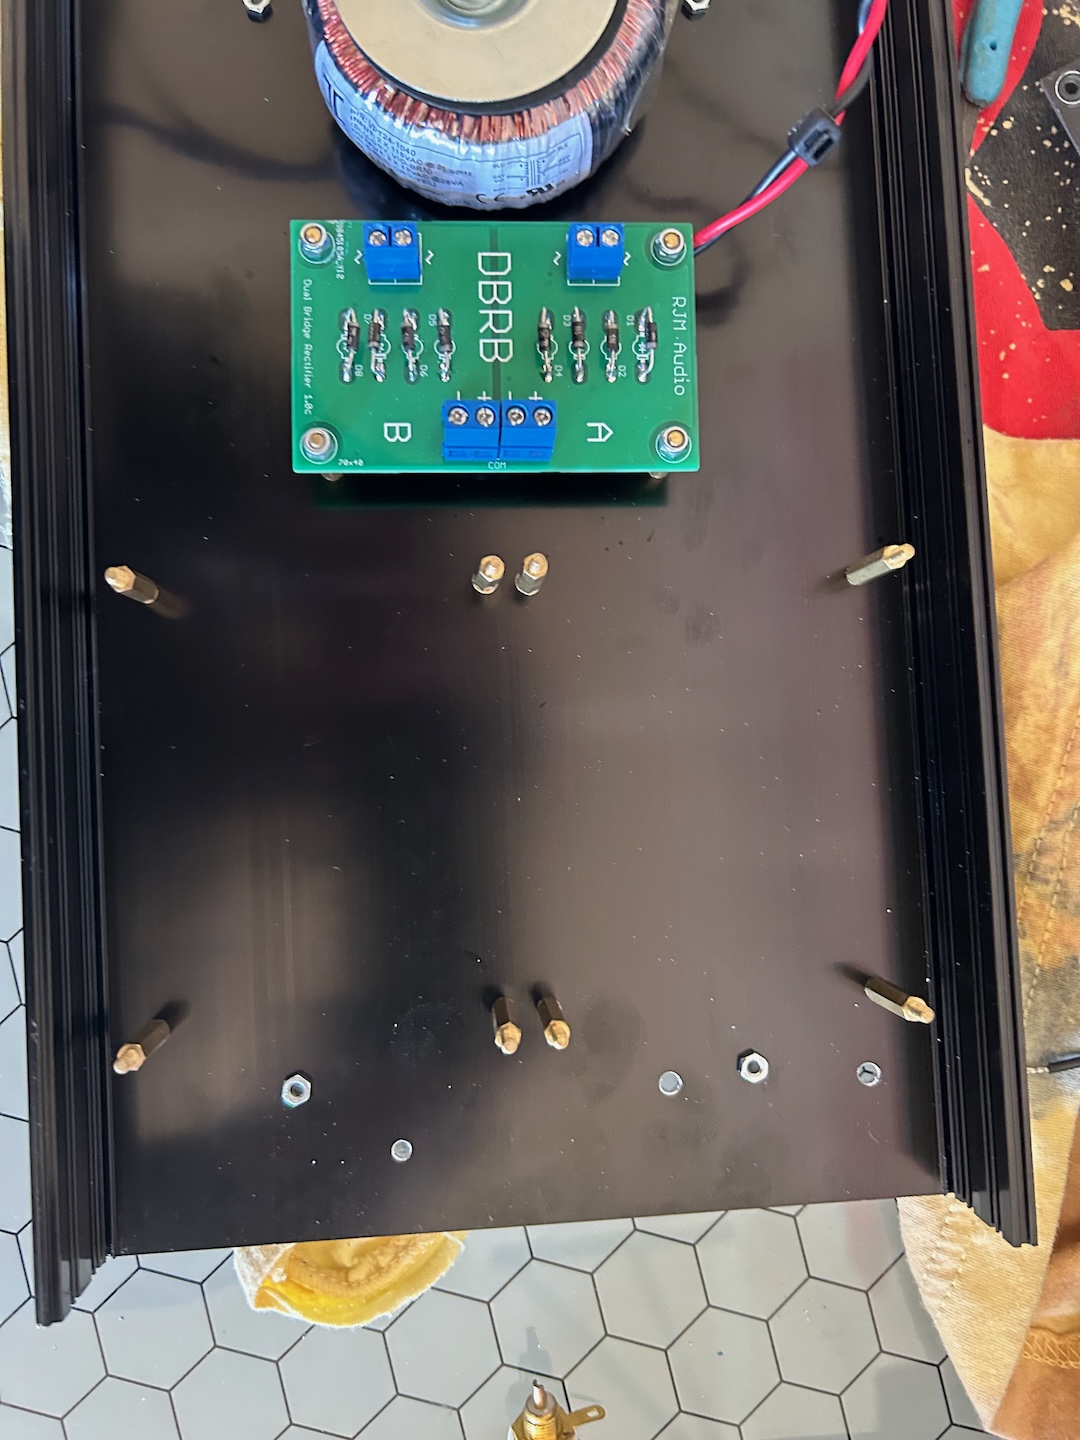
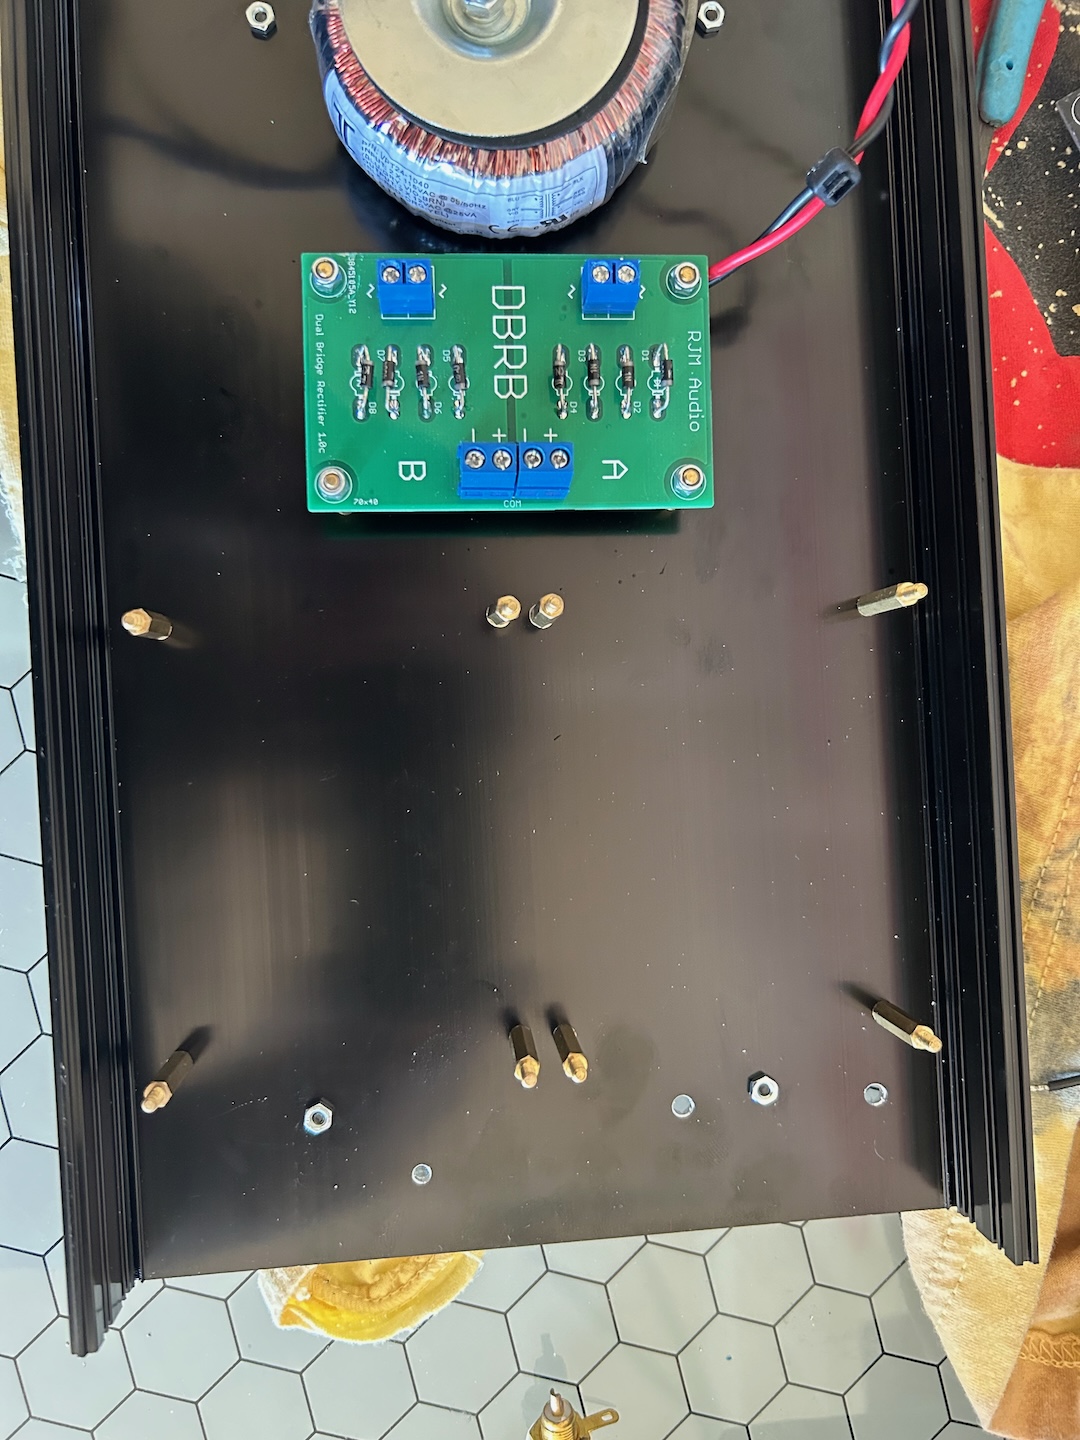
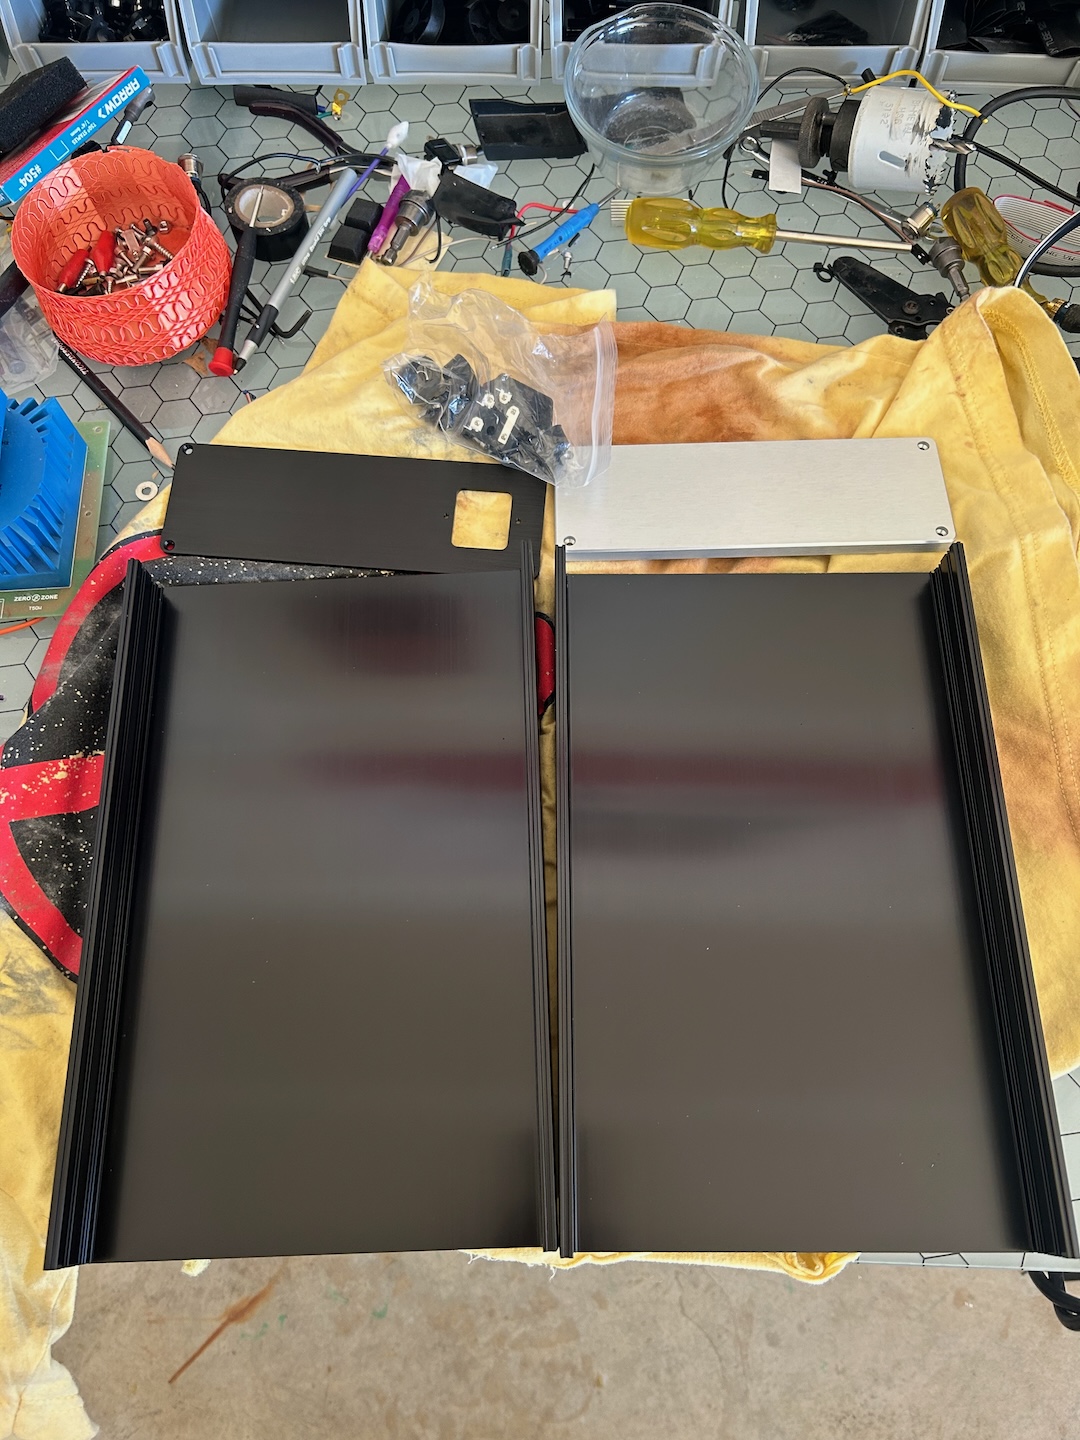
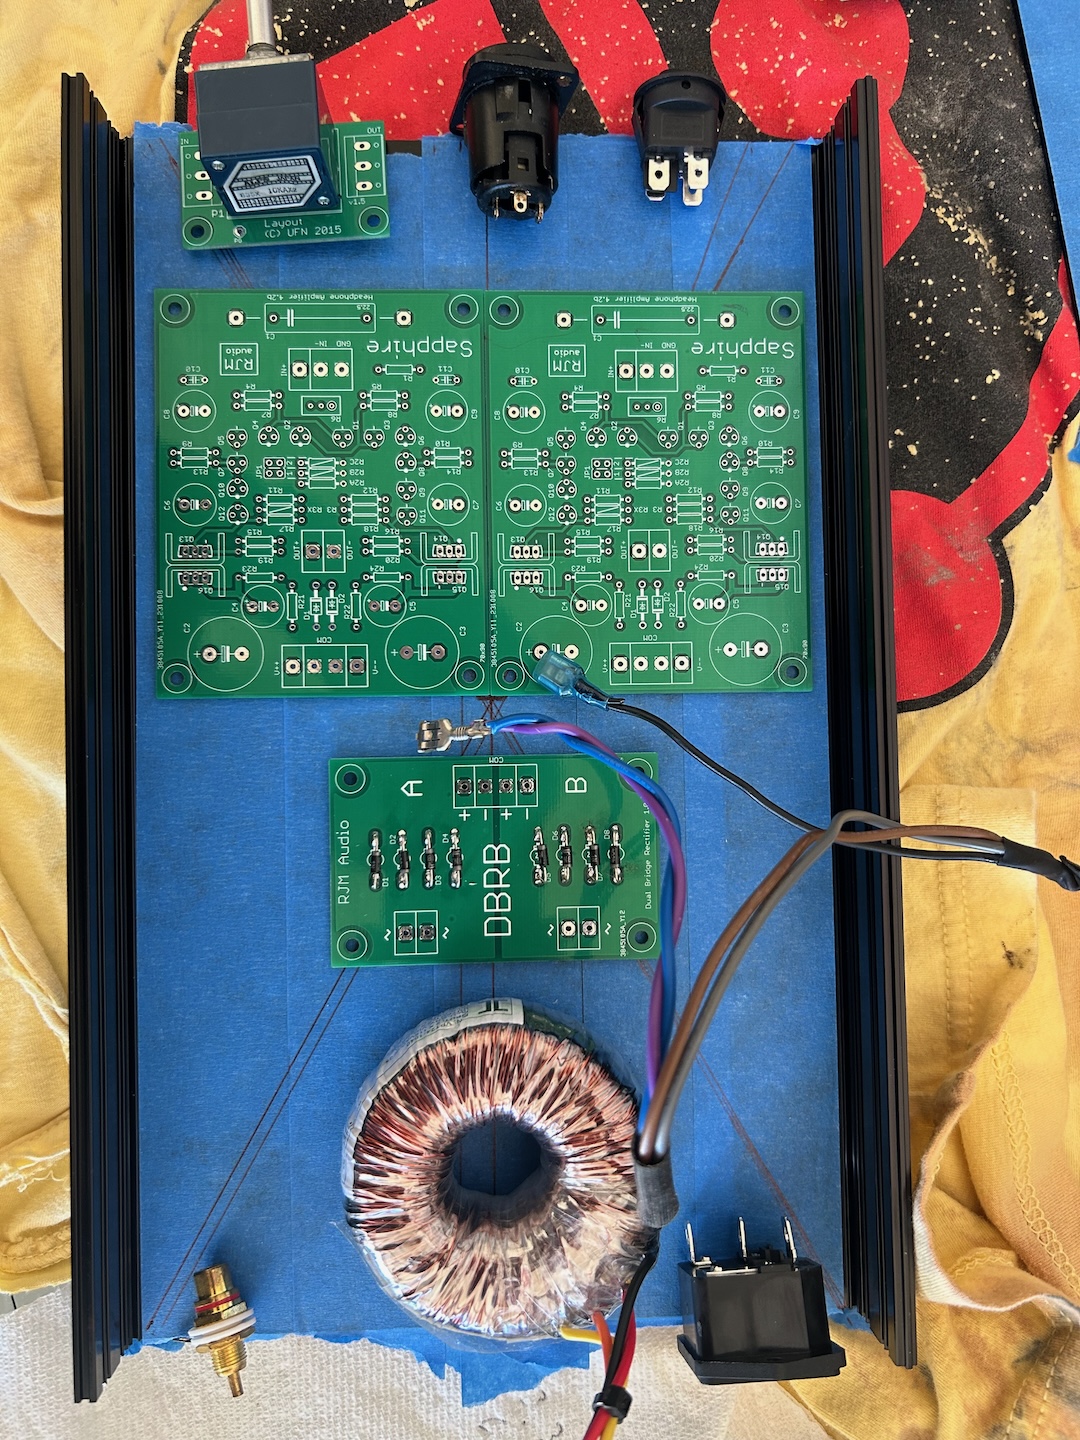
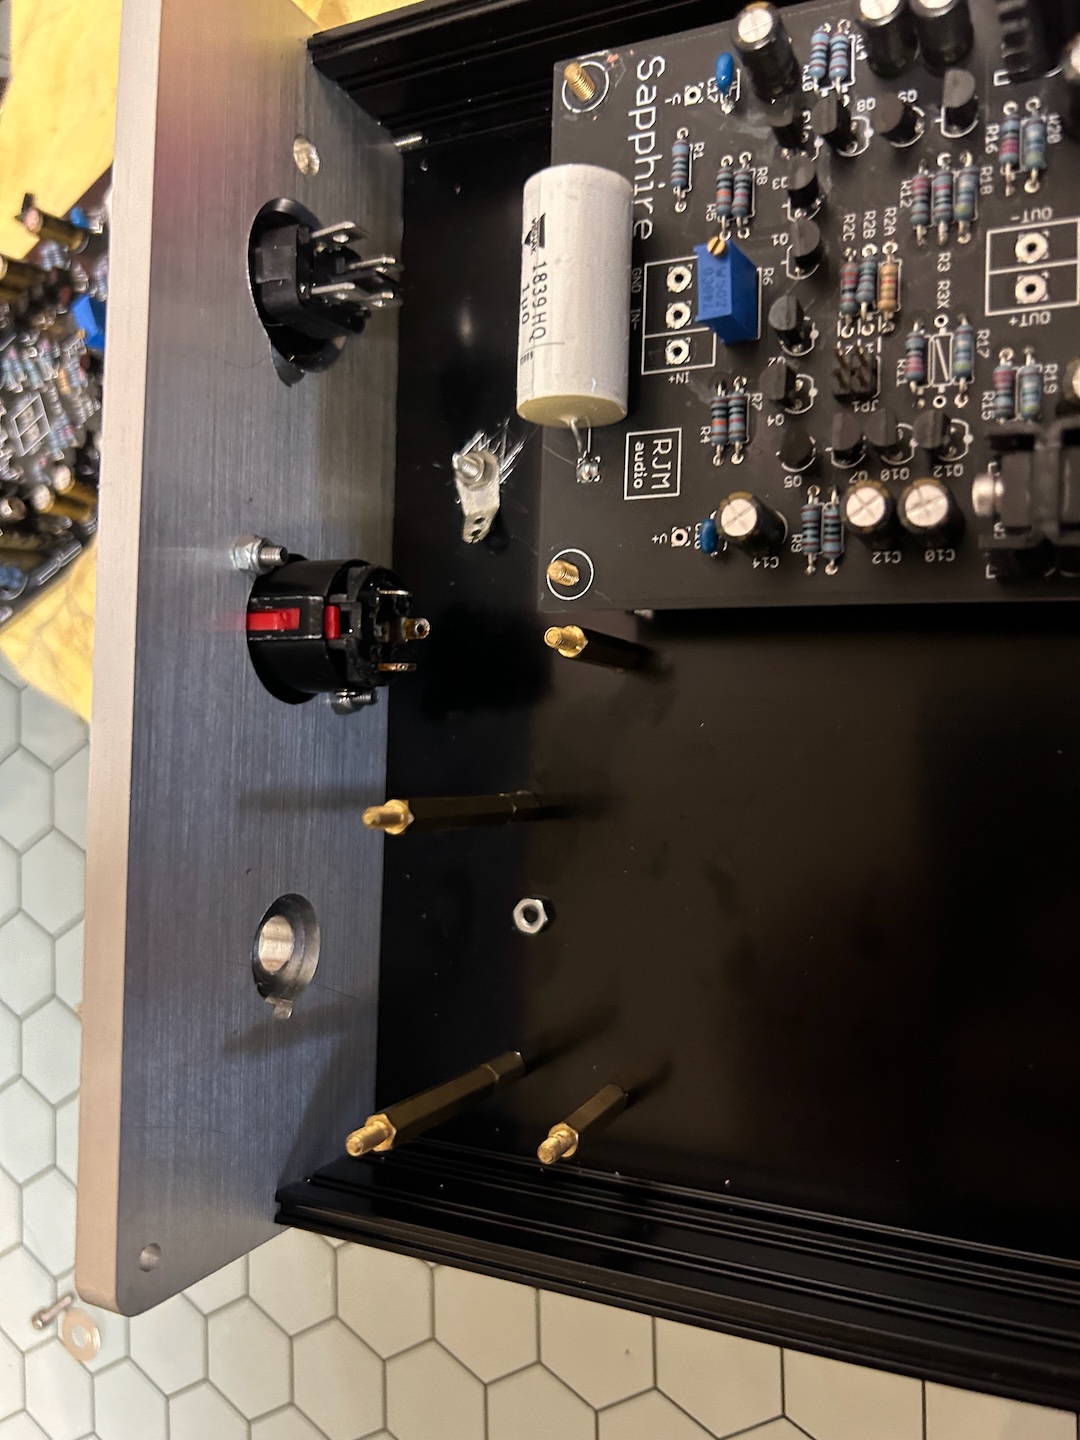
Everything seems good. I do not tighten the standoffs completely until everything is seated. However, the DBRB (fancily named rectifier board) looks a little kittywampus. Oops. Such is life.

Plenty of cleance. This amp doesn’t give off much heat so I’m not worried about needing any ventilation but having things not touch is always… good.


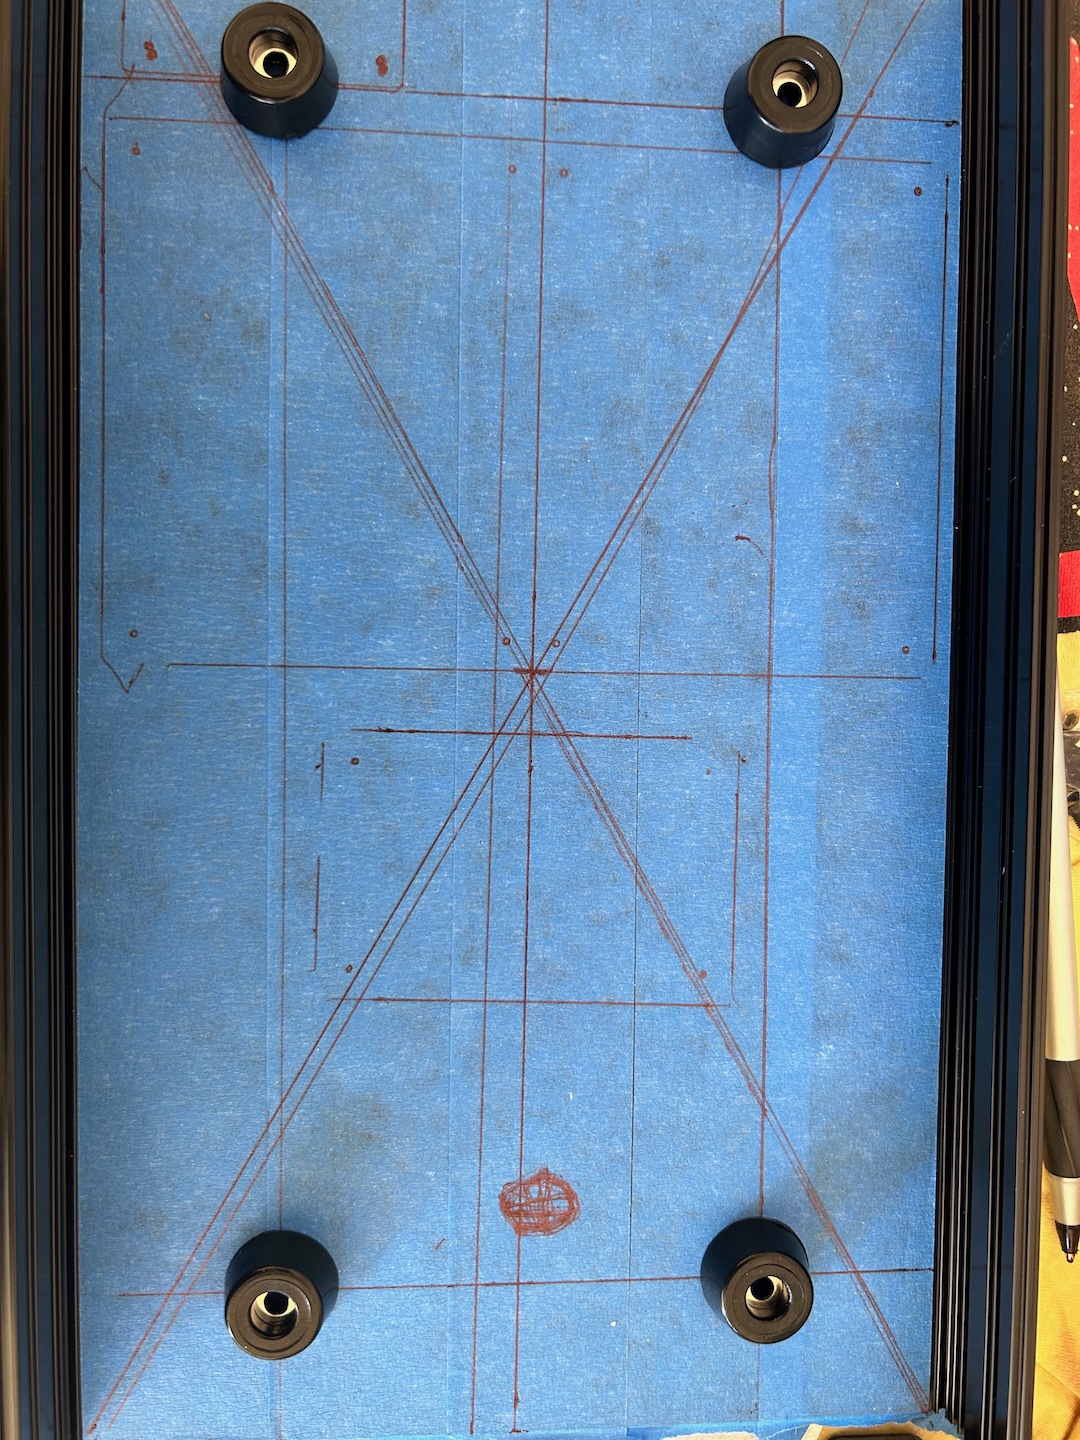
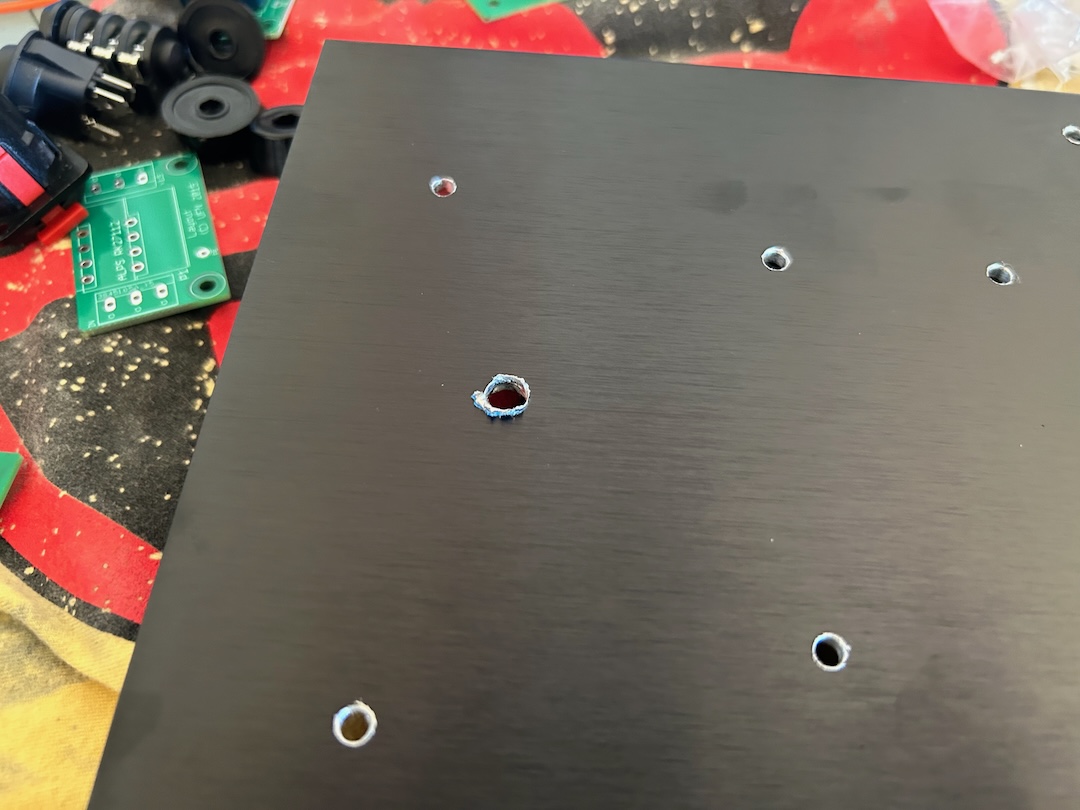
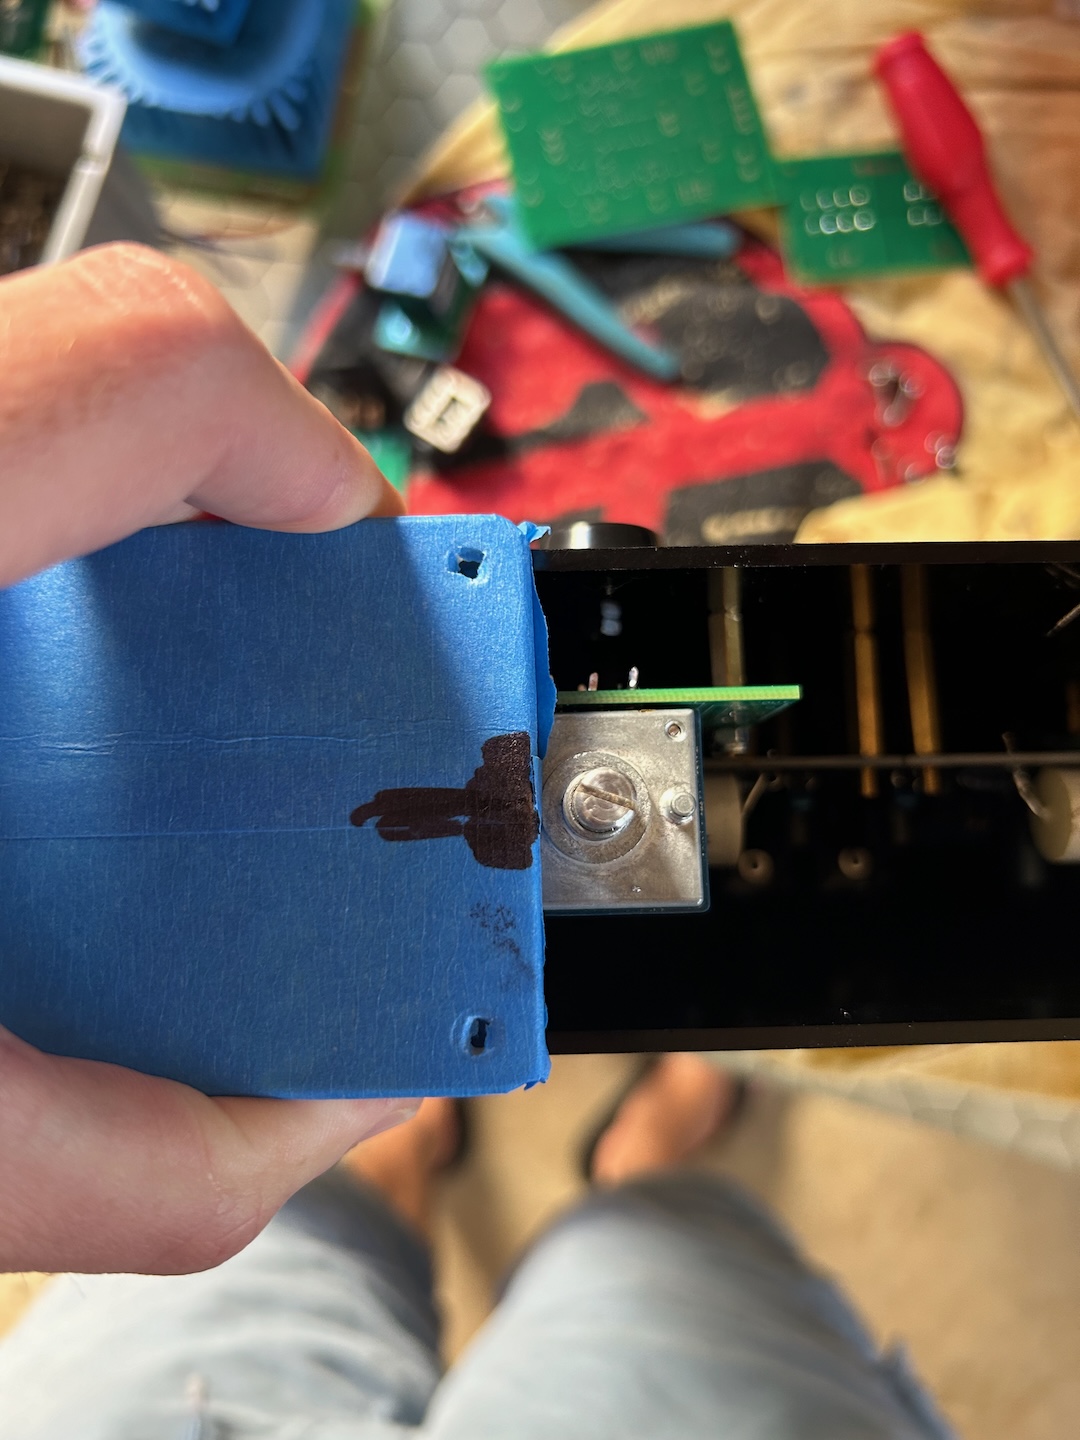
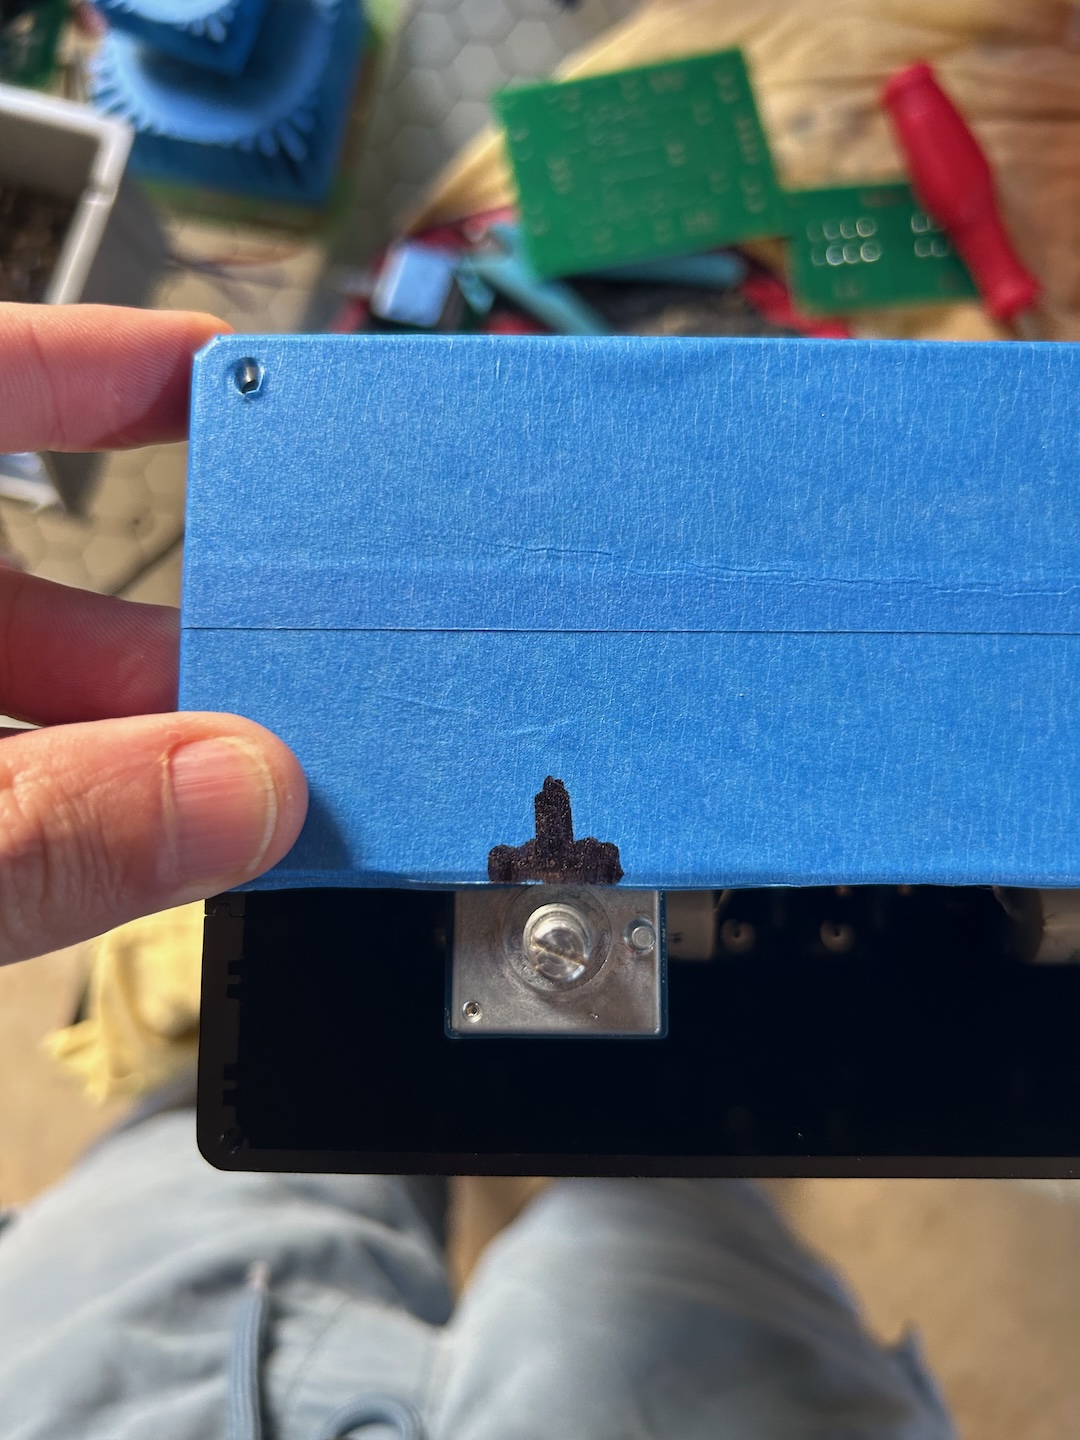
Making a hole, scratching the anondization to expose the metal, and attaching a grounding lug. Making shitty looking scratches is important otherwise there is a decent chance the annodization will insulate the lug. And that would defeat the purpose of grounding!

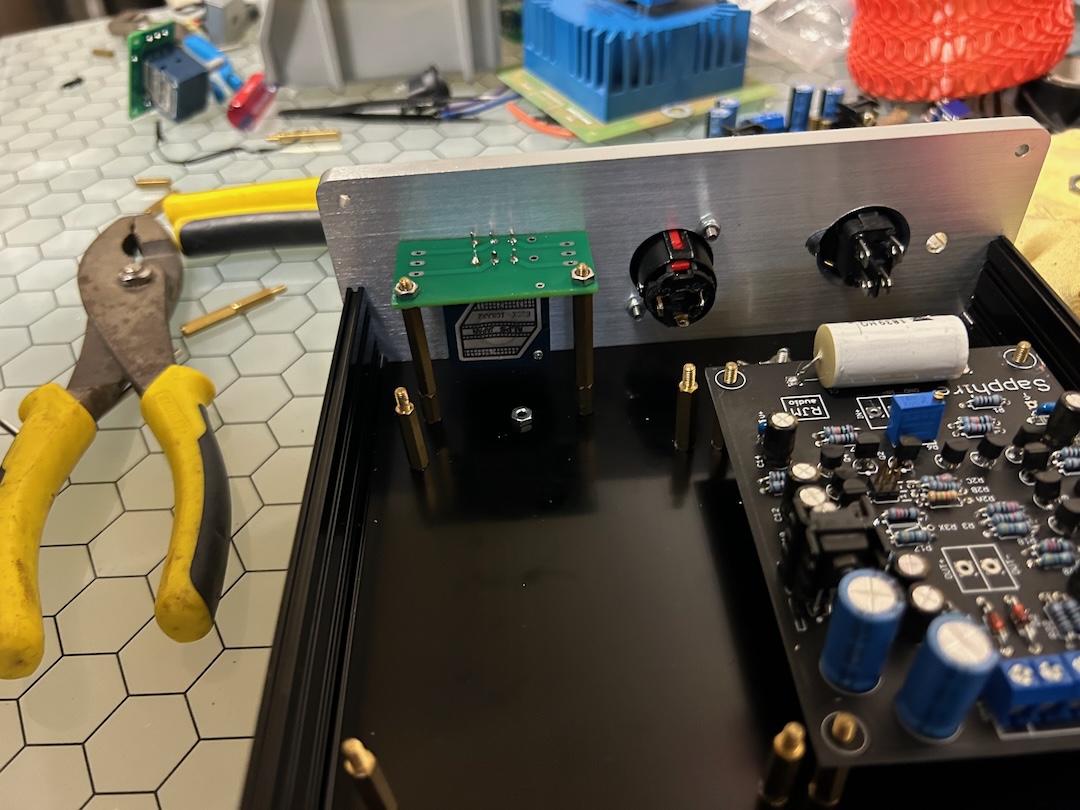
This particula enclosure came pre-cut for an IEC inlet. That’s nice so you don’t have to see my try and make decent cuts with a Dremel. So, again I painters tape the panel to make sure nothing gets scratched while I drill out some holes for RCA connectors.


Nice.
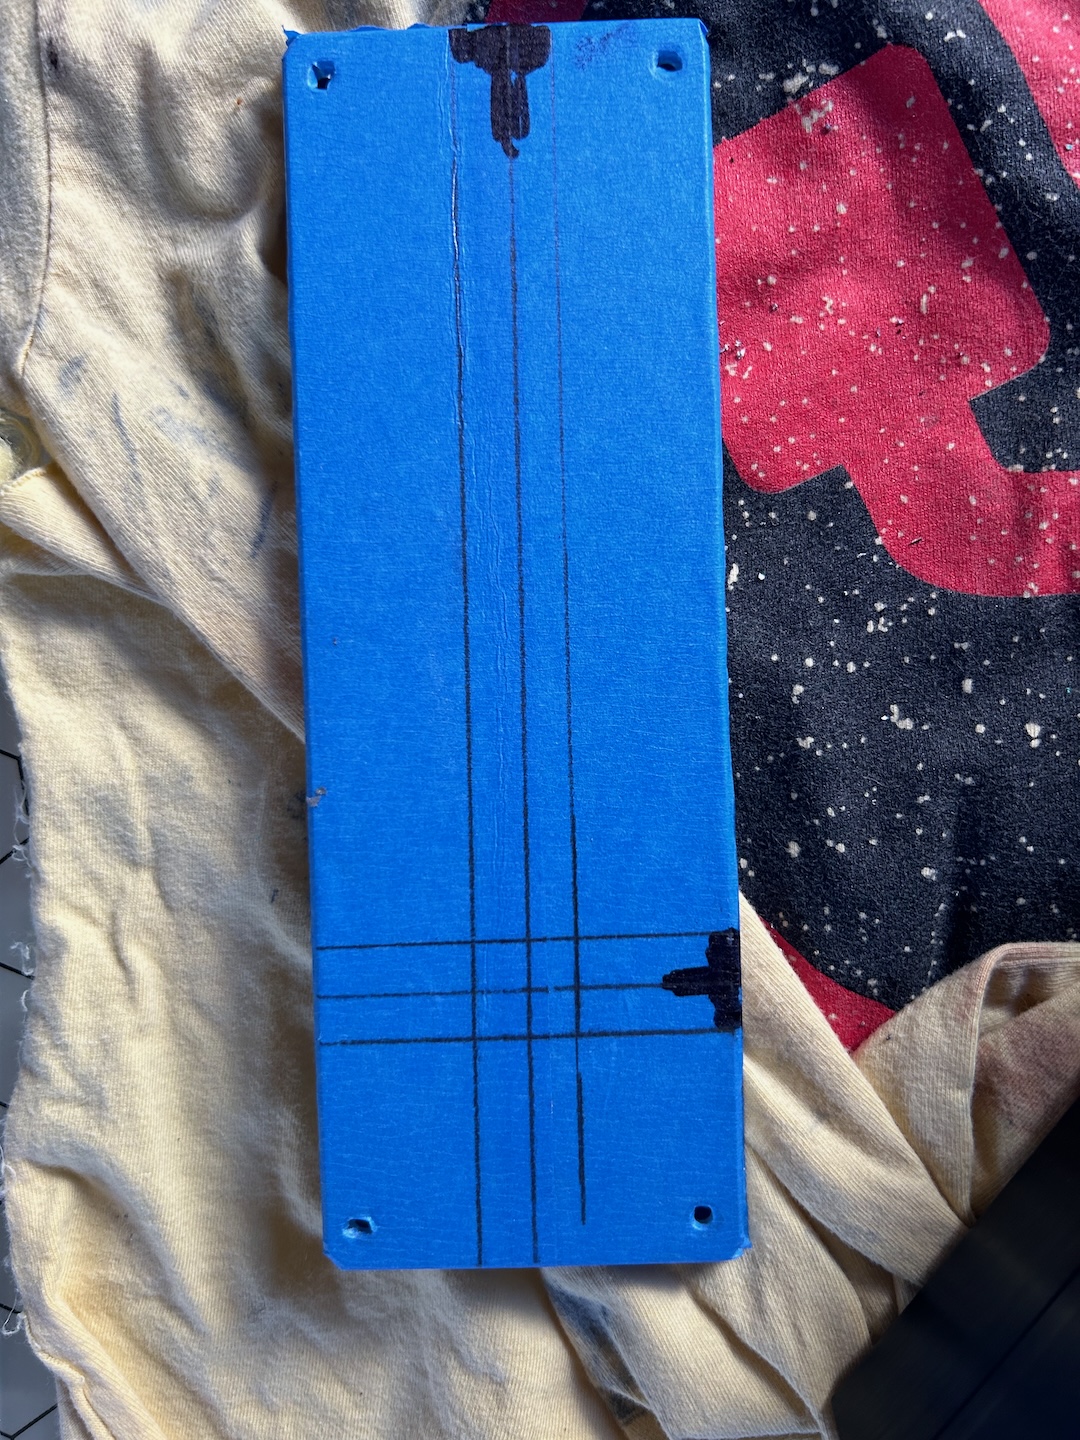
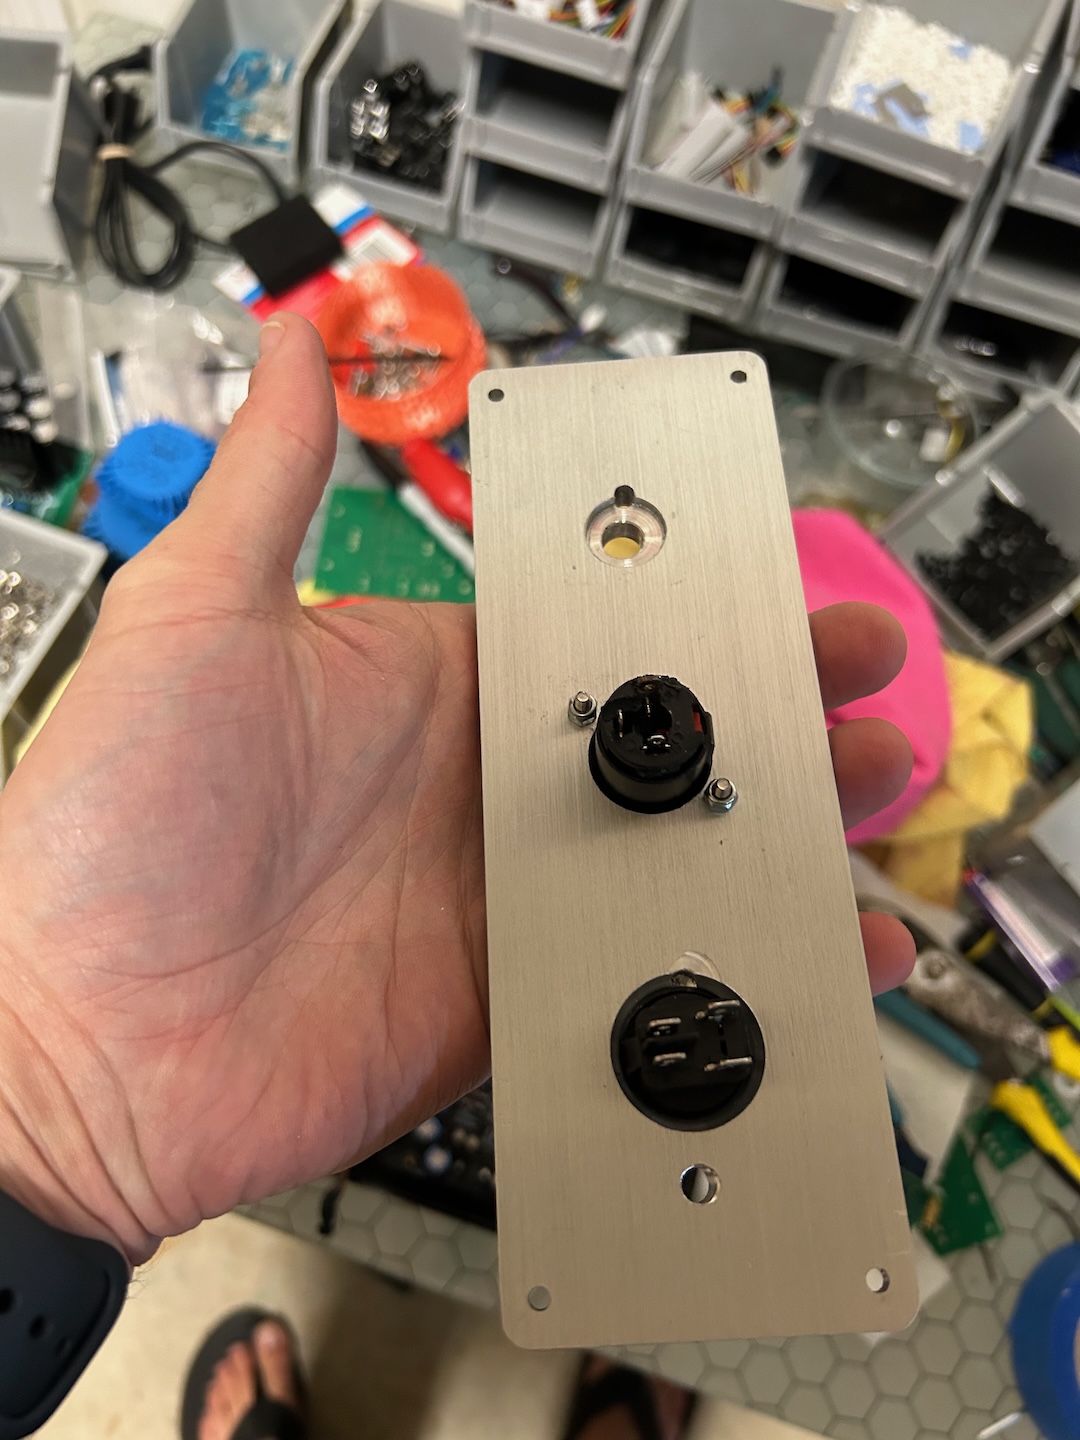
Did some sort of eye-balling measurements for the front. Yolo.
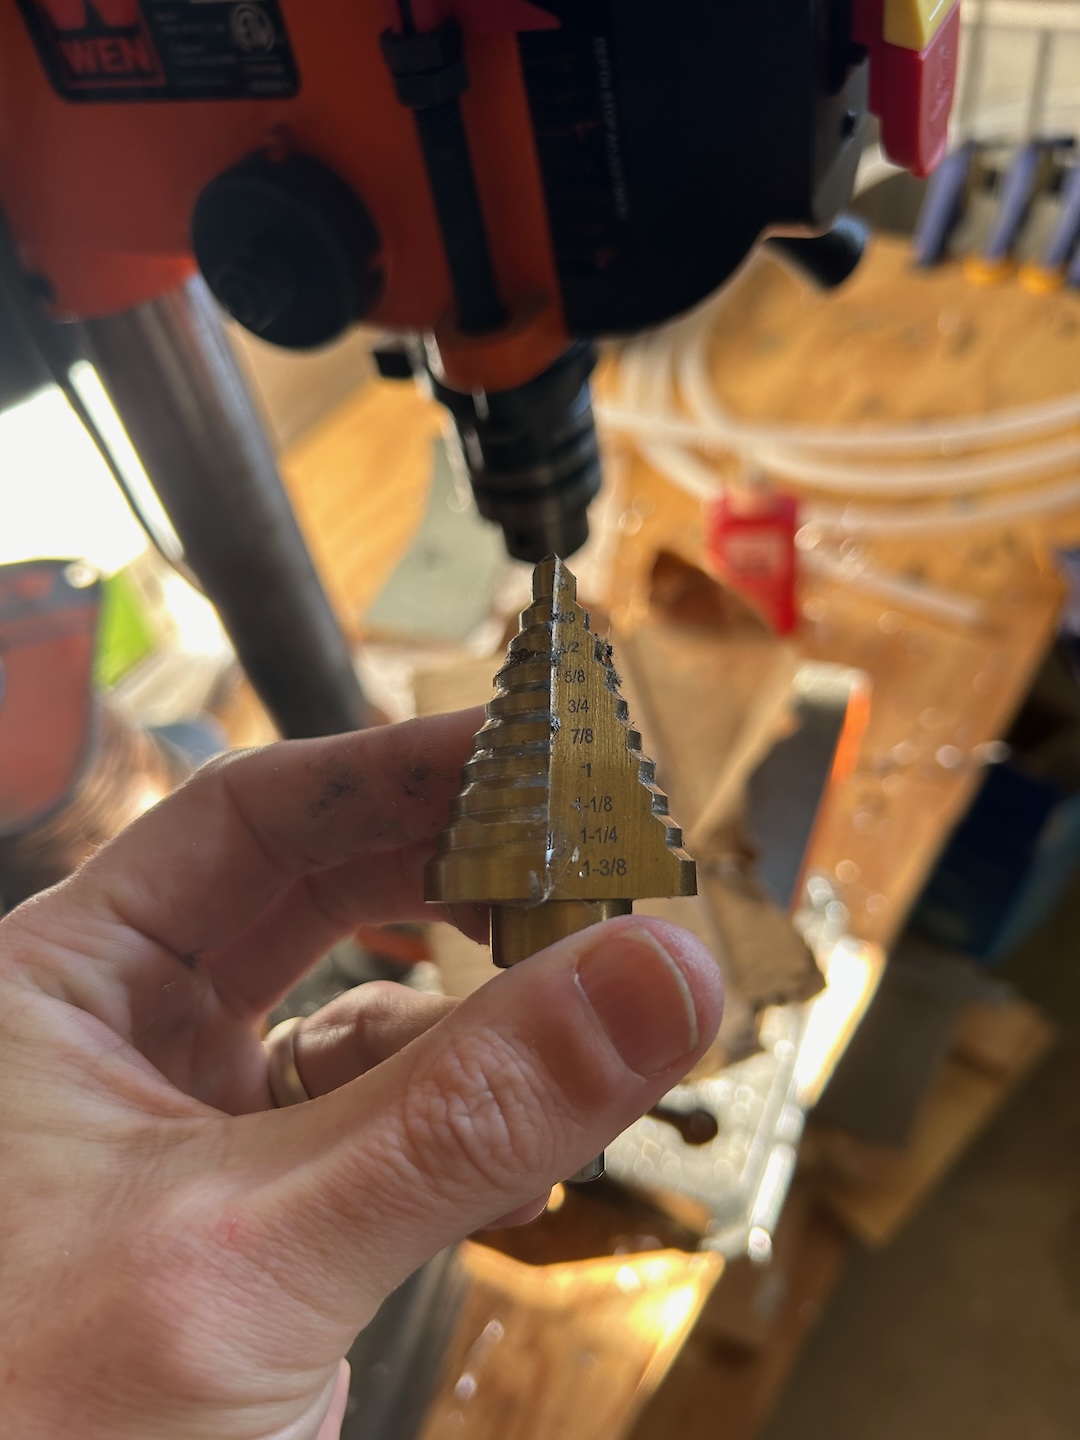
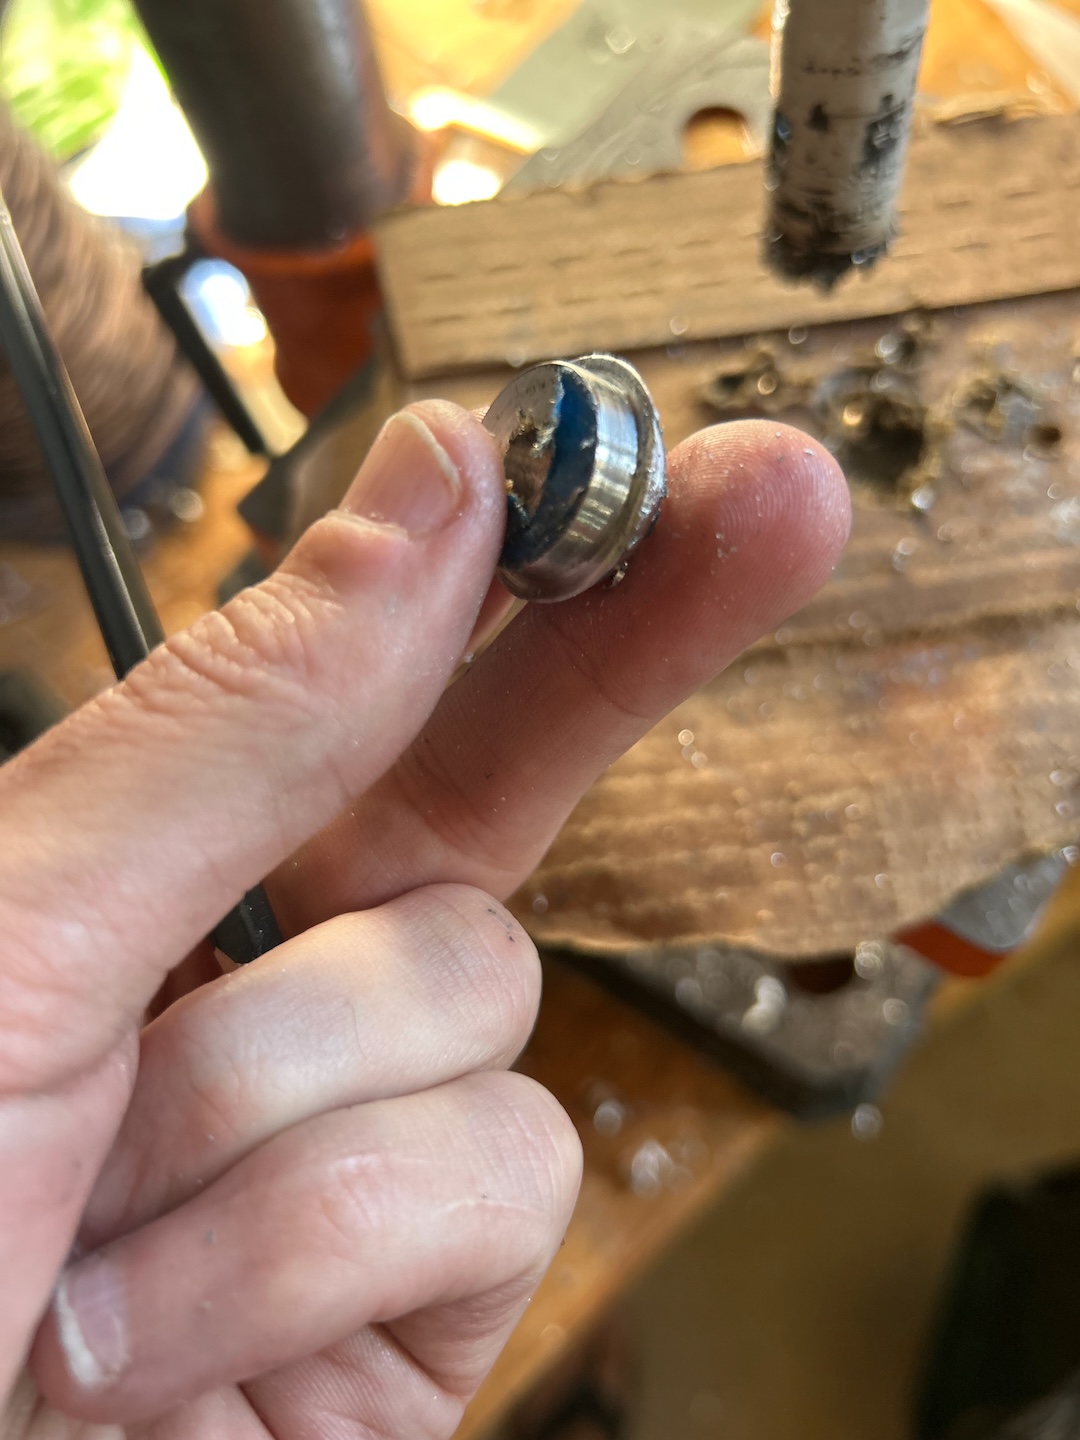
This is a stepped drill bit. I spent decent money on one prolly 7 years ago and it’s cut a lot of metal since then. It may outlive me.
Investing in a good one is worth it.
I used a hole-saw for this one since I had the right size. Hole saws are fine for soft aluminum but cutting anything harder I wouldn’t try with it.
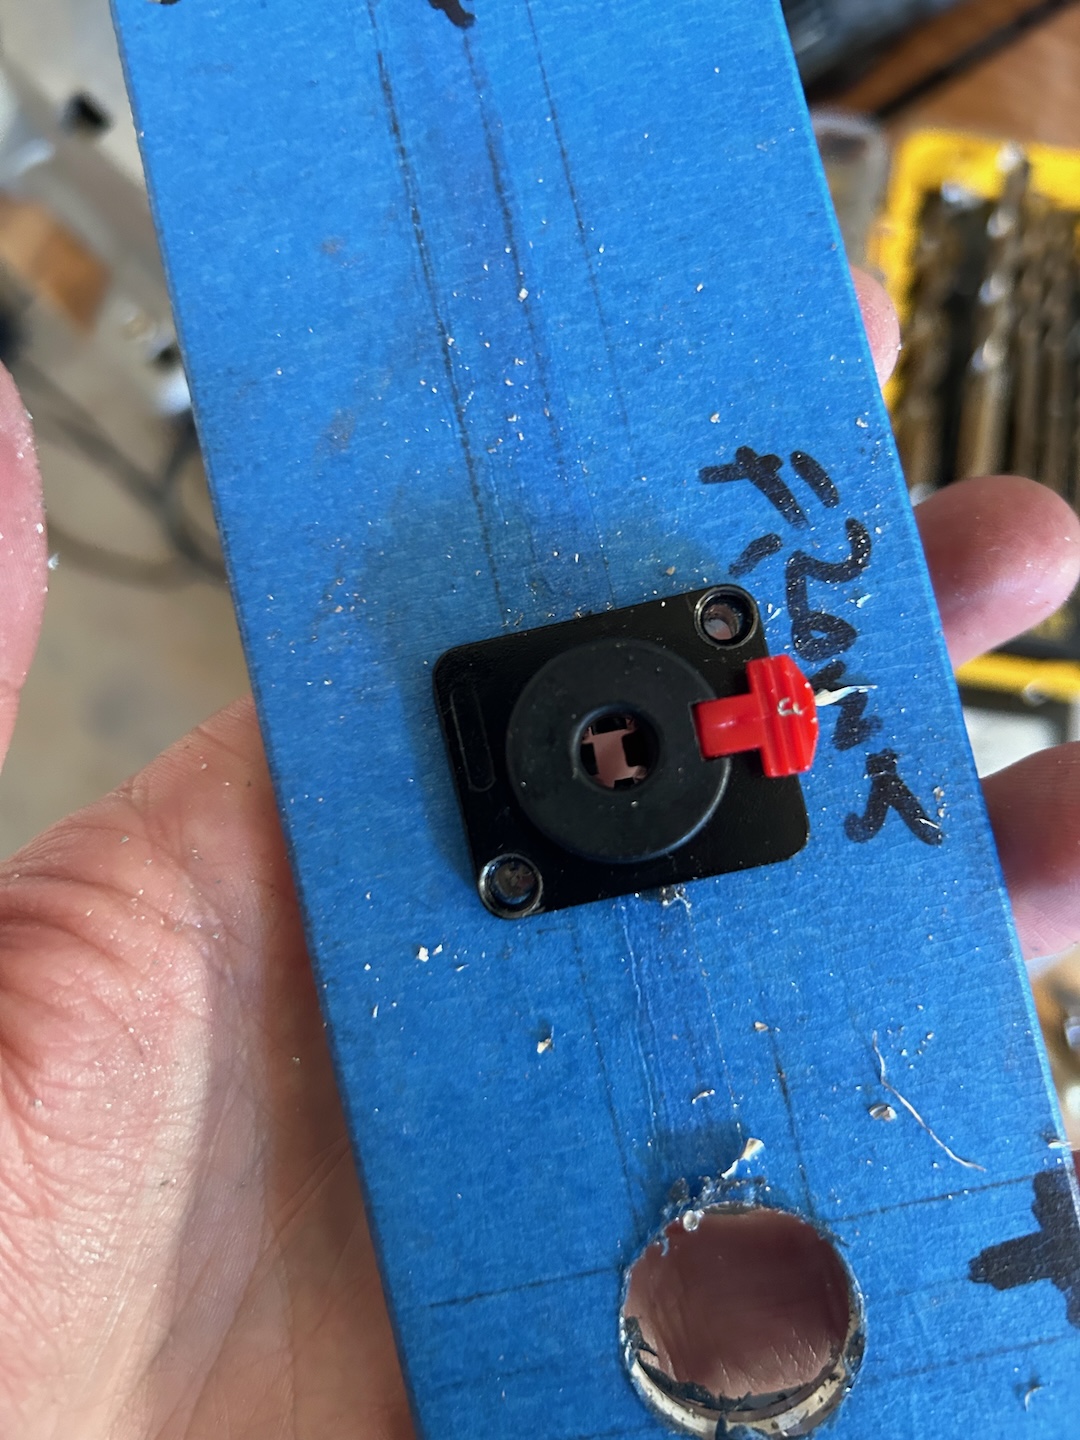

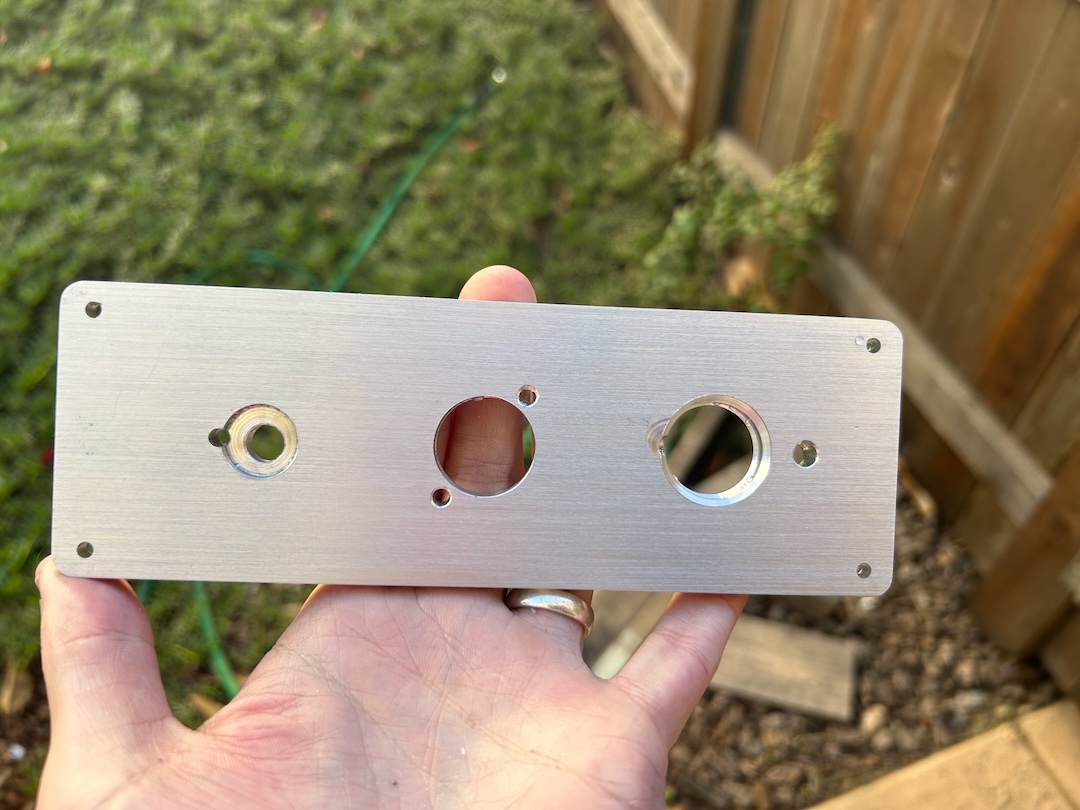

Looks pretty nice, eh? Yay for painters tape!
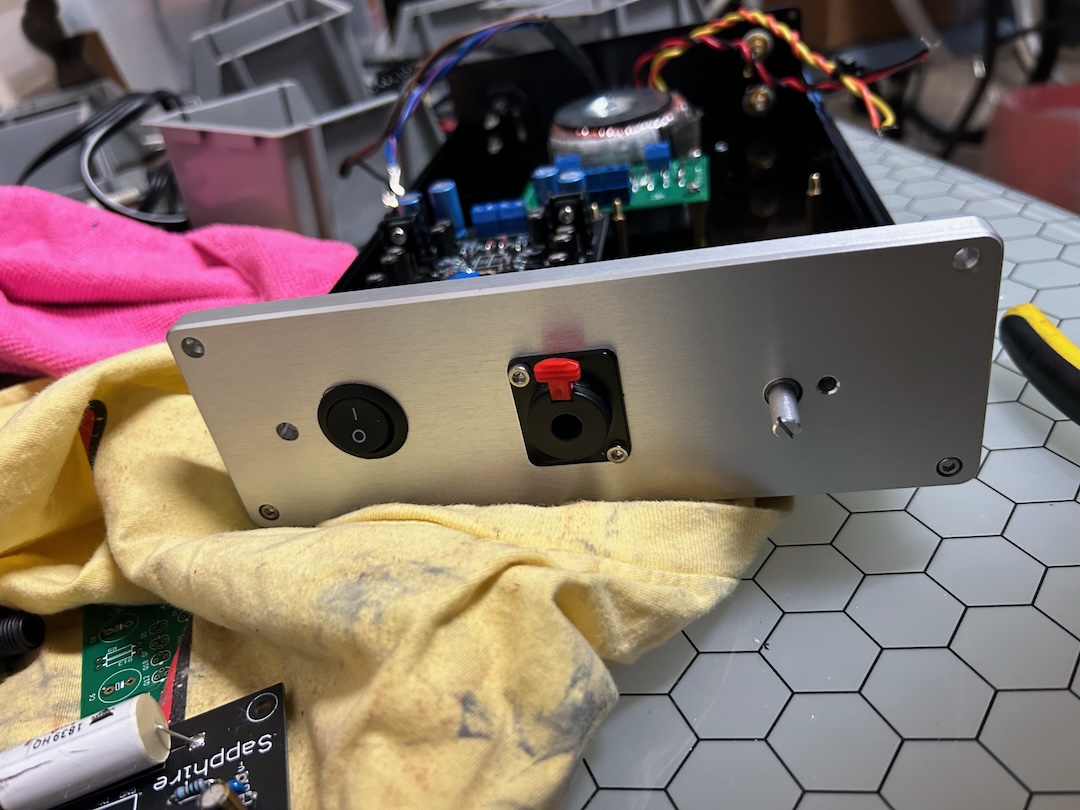

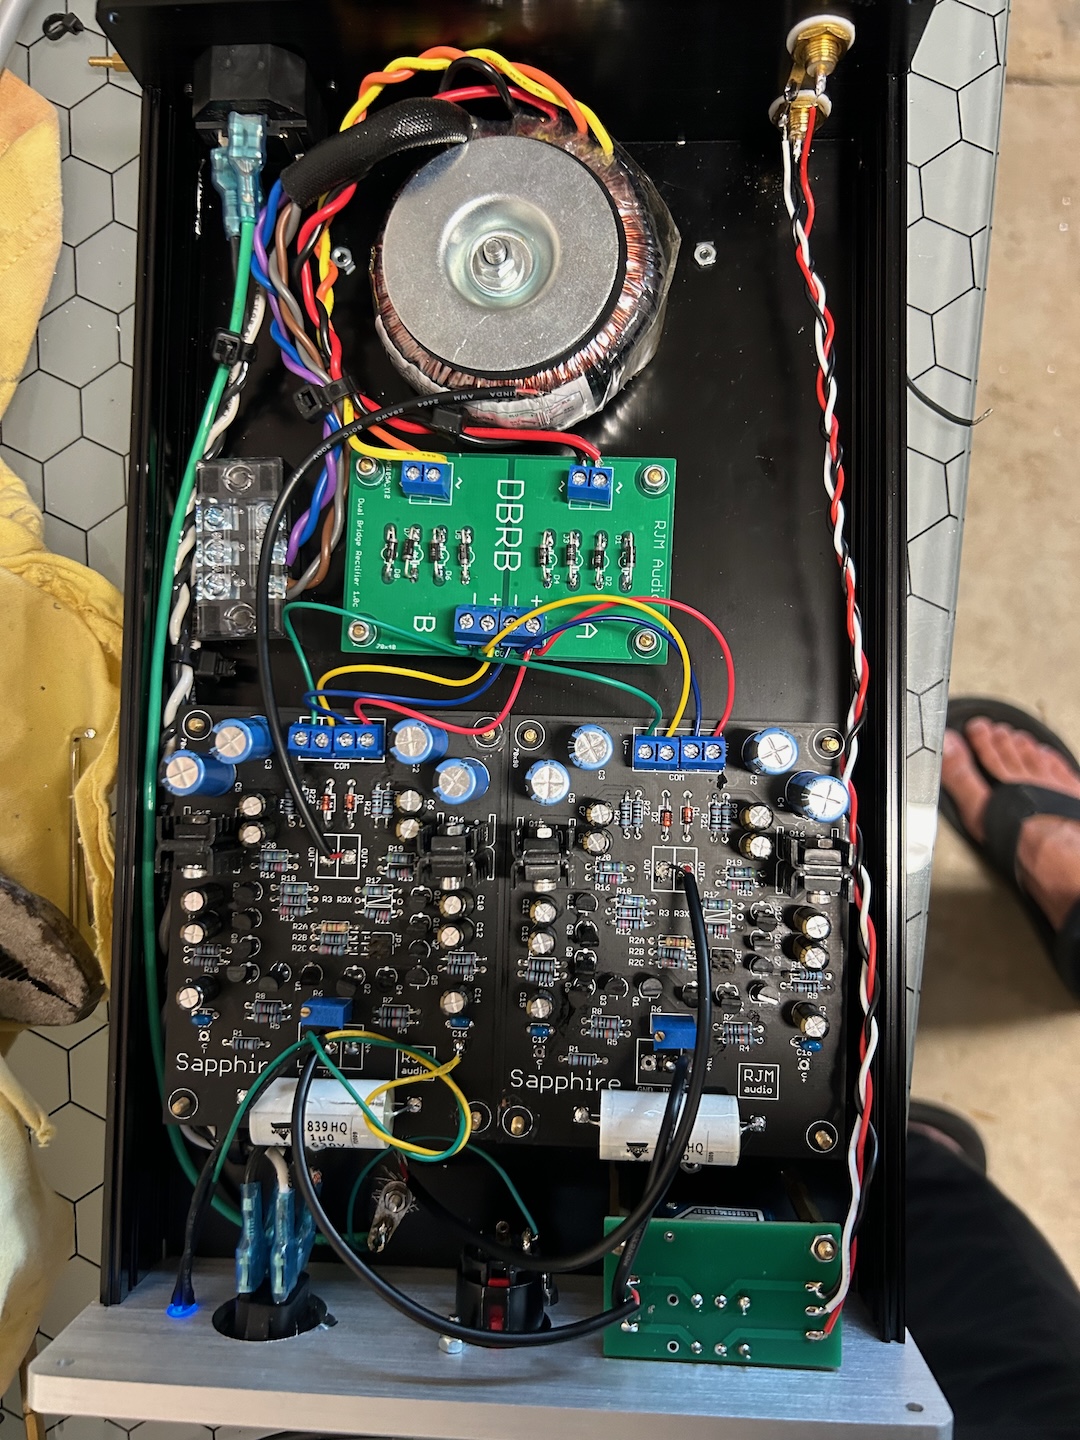
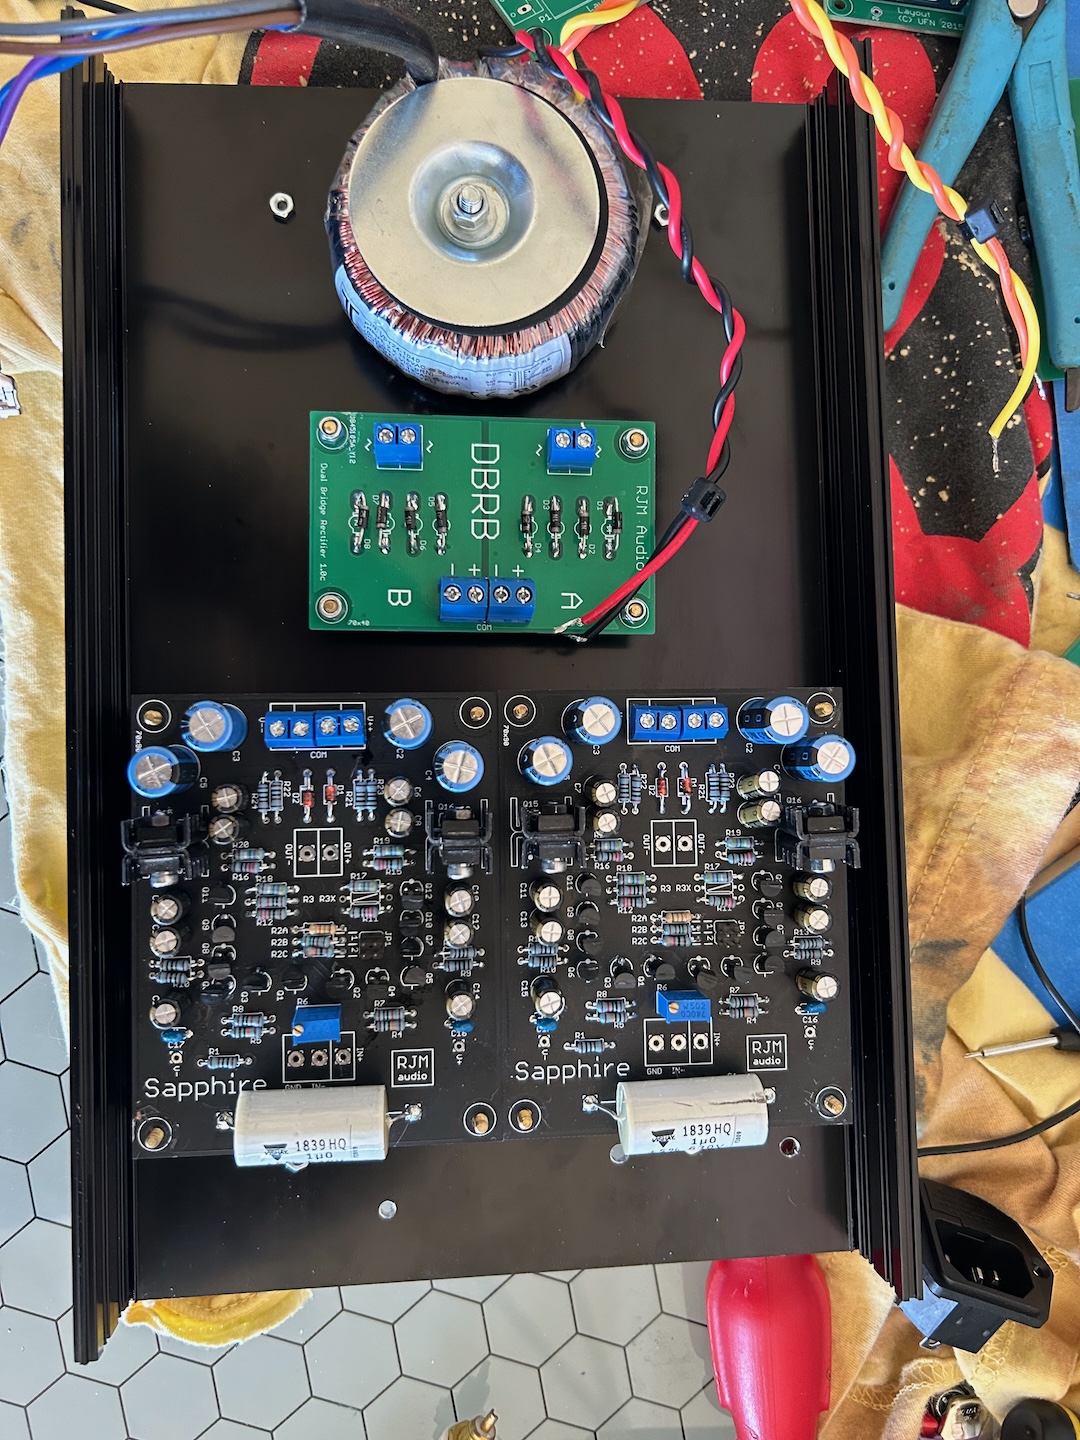
All wired up. Not going ham on it but in my testing it sounded fine so we’ll button it up.
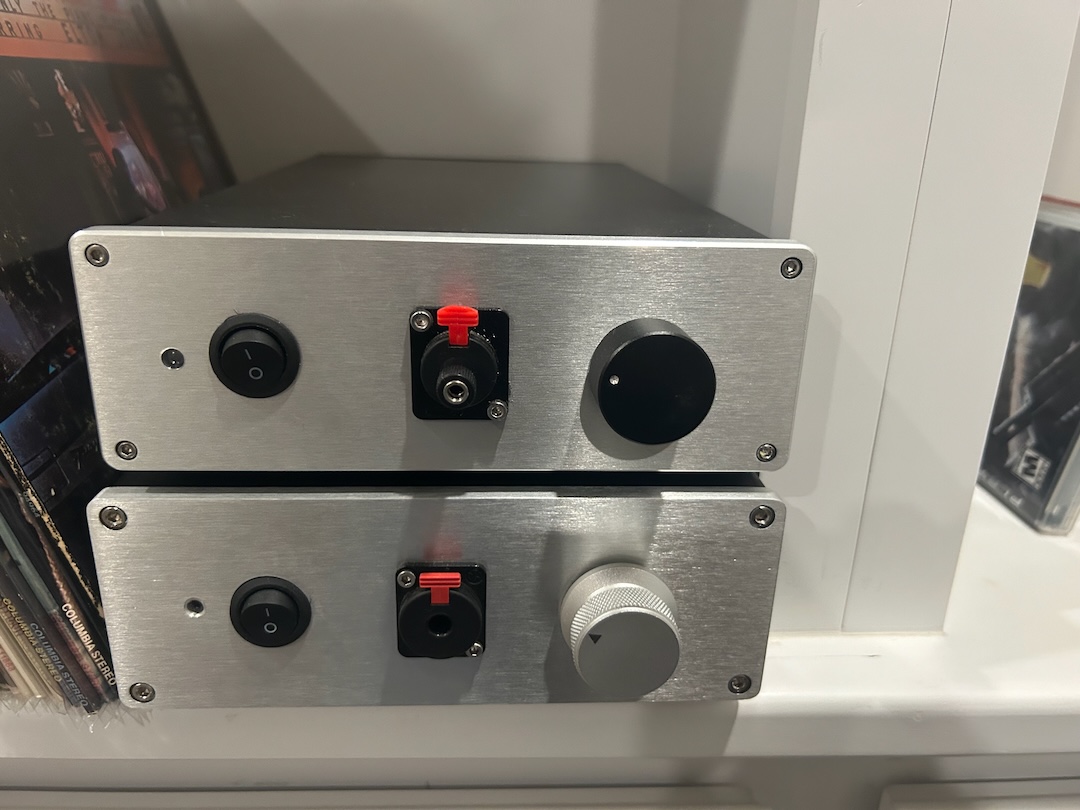

Finished up glamor shots! The almost identical twin below is another Sapphire build, but with a closed loop configuration. The build I rehabbed is an open loop configuration with more distortion, but the good kind.
RJM talks a bit about the differences in his high-level topology description.